My original plan for the crib corner of Martian’s room was to hang this adorable (and oh-so-nerdy) solar system mobile from Pottery Barn. I will explain this next week when I share pictures of the baby’s room, but the room was inspired by Neil deGrasse Tyson and the Enjoy It blog by Elise Cripe. Yes, that’s weird and I’m willing to guess it’s the only nursery ever to be inspired by these two people, but stick with me. It’s adorable.
When we unpacked the mobile to hang it the other night it was about 4 times as large as I had expected it to be from the photos. Greg was concerned about how heavy it was to be hanging over the crib. Then we found the tag that said “do not hang over crib”. We tried various locations in the room but given our short ceilings (our bedrooms are in the basement) and the smaller size of the room, it just wasn’t going to work.
So on to plan B and a new craft project for me. I wanted something colorful, on the cheap side, and easy and quick enough for a nine-month preggo to do in short order now that we’re in “any day now” territory. I honestly don’t love the idea of mobiles to begin with, it was more the solar system that had me captivated so I switched gears to tissue paper poufs. I had previously seen them on Elise’s blog in her little girl’s room and Lauren recently added the poufs from Sloane’s first birthday to her room décor. It seemed like the thing to do.

I searched Etsy to find pre-made poufs but wasn’t able to find a single source that had the selection of colors and sizes I wanted. I ended up taking the suggestion from Elise’s post on making her poufs and buying tissue paper to make my own. I found the colors I wanted at the store she recommended and was able to buy the amount of each that I wanted, which turned out to be at least double how much I actually needed. If you’re on my gift list, expect colorfully wrapped gifts for the next few years. I was impressed with how quickly I received my paper (two days!) but was a little annoyed that they only offered Priority Mail shipping, which was 50% of the total cost of the tissue paper itself.
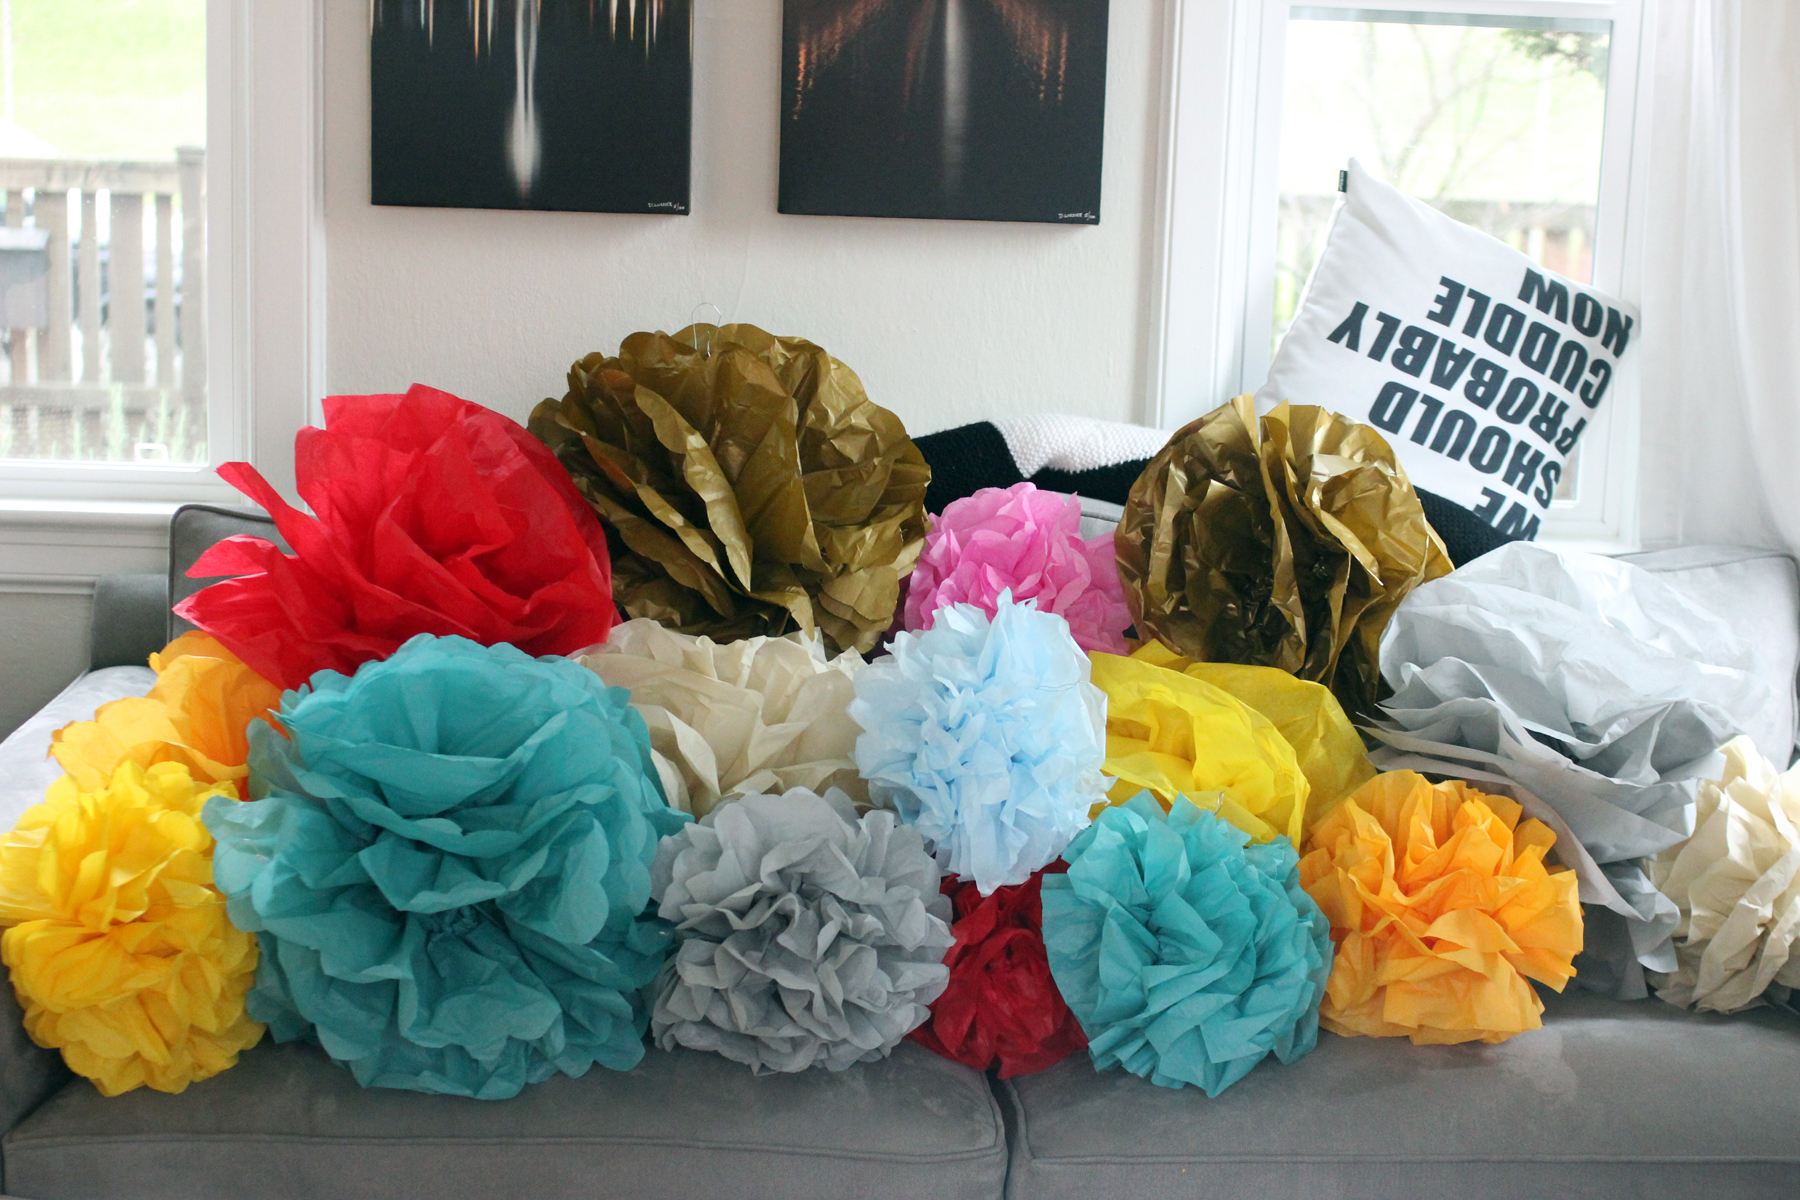
This project, unlike most, was much easier than I expected. I followed Martha’s instructions and created 16 different sized poufs. For each one I used eight sheets of paper. The large are eight full sheets, the medium are eight with one quarter cut off, and the small are eight cut in half (also known as four). To add different textures, I trimmed some round, some pointy, and some I did not trim at all.
I have bought pre-made poufs before for parties and for whatever reason I think it took longer to “pouf” those (they come folded up) than it did to cut, fold, and pouf these myself. I had settled in for a long day of working on this and was pleasantly surprised that even with clean up I was done in less than two hours. It didn’t end up being as cheap as I’d hoped, but at the moment I’ll take quick wins over cheap wins (sorry Greg, I’m almost done spending money!).

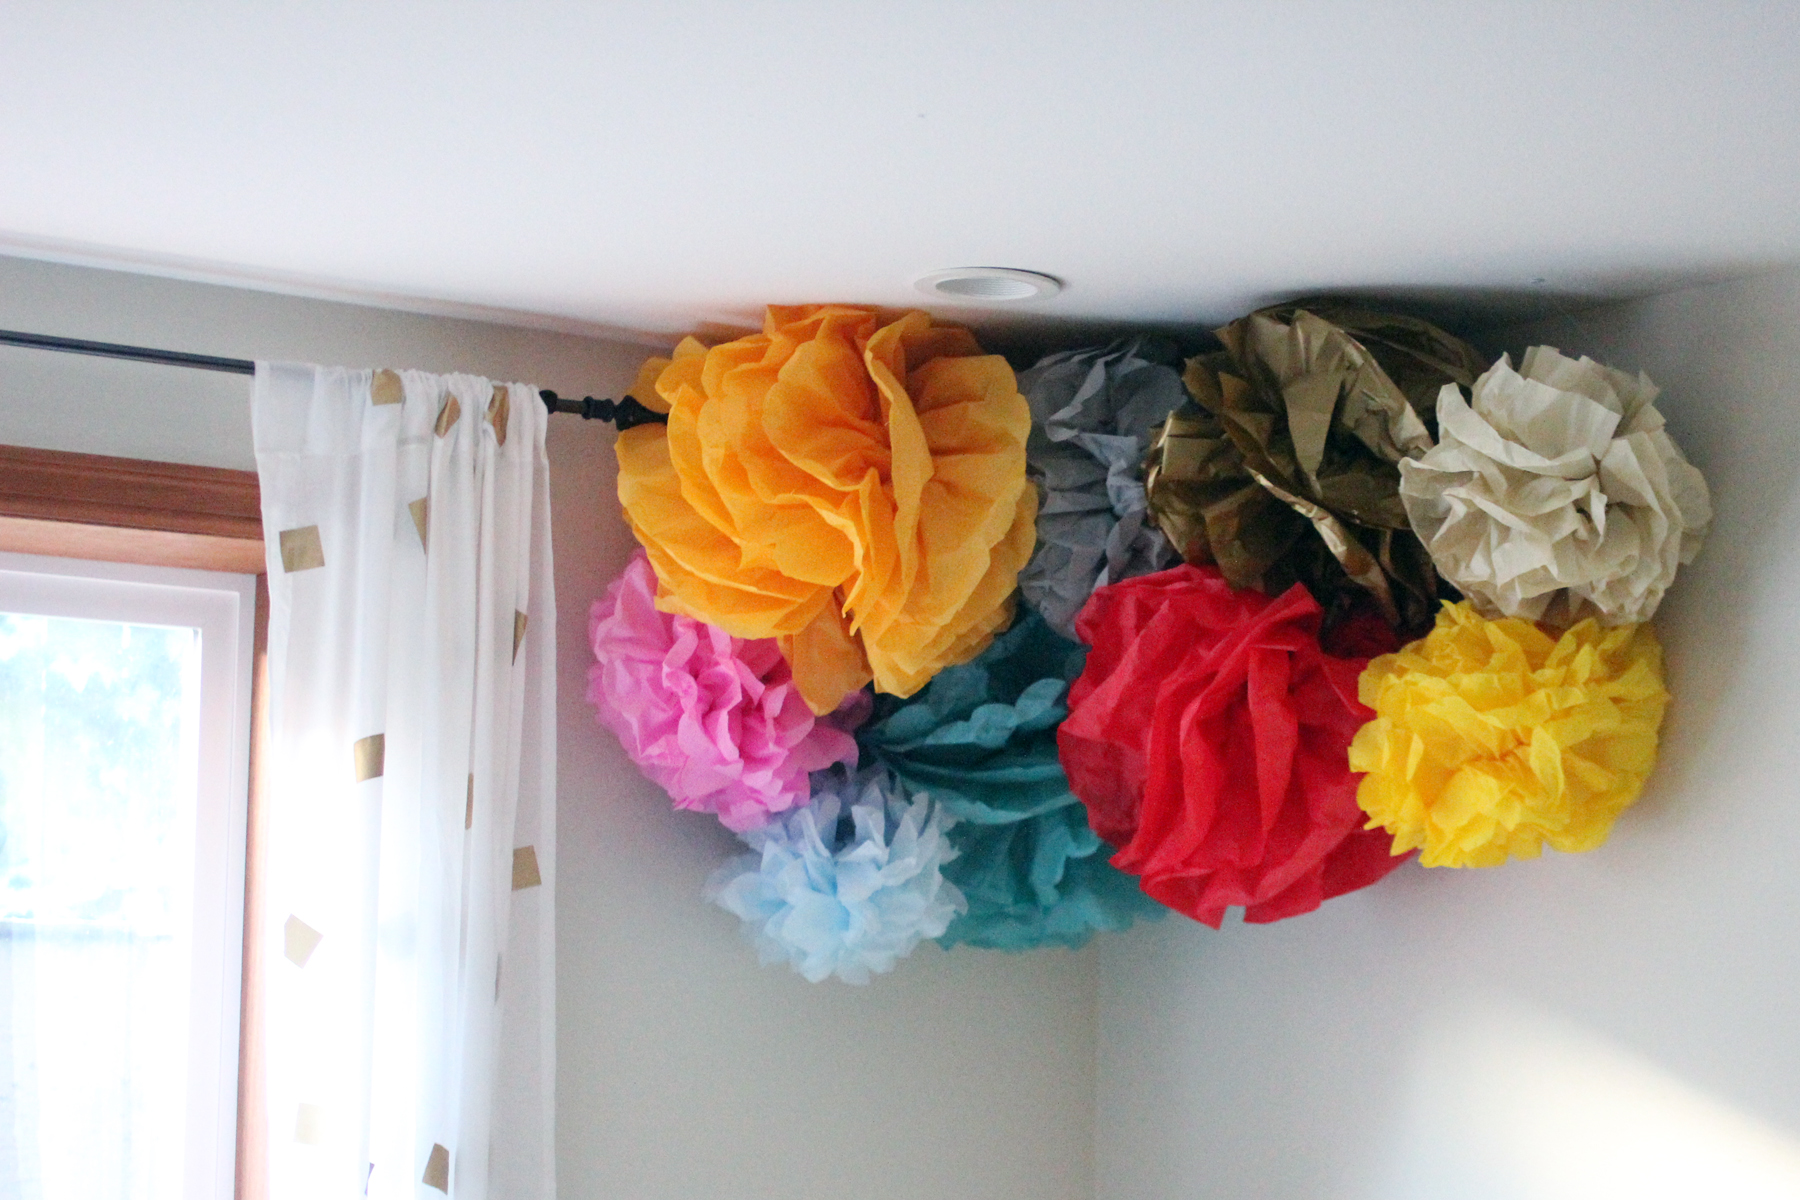
It took me about an hour to arrange and hang (using fishing line and flat, white thumb tacks). I used just over half of what I made. I might add more, but for now I think it looks good without going overboard. Its so hard to take good photos with the light we have downstairs and these are a bit darker than they look in person.
Project: 13/35
Time: 3 hours (2 to make the poufs, 1 to arrange and hang)
Tutorial: good ol’ Martha Stewart
Cost: $50 ($40 for paper ($17 in shipping!) and $10 for fishing line, thumb tacks, and floral wire)

Honestly one of the cutest room accents I’ve ever seen!
Thank you. One more picture to hang and the room is done!
>