Tag Archives: sewing

30 minute heating pad

IMG_8924_edited-1

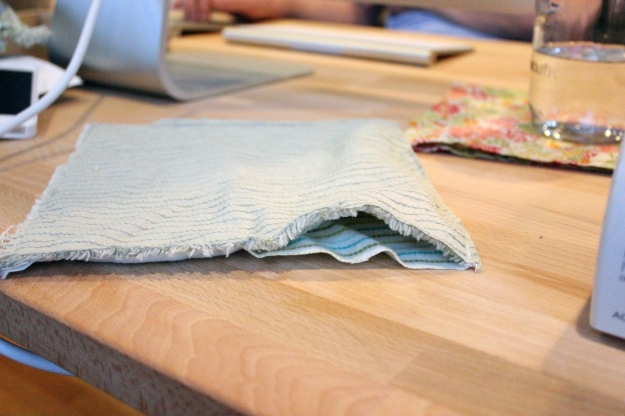
As I’ve been interrogating friends with kids to make sure I have the bare necessities, Lauren mentioned that having a heating pad for future nursing aches and pains would be nice. I could have run out to Walgreens and picked one up for $10, but since I’m pretty desperate for anything to pass the time right now I decided to make one. After browsing Pinterest for a few ideas I jumped in and put one together in less than thirty minutes. hotpad1
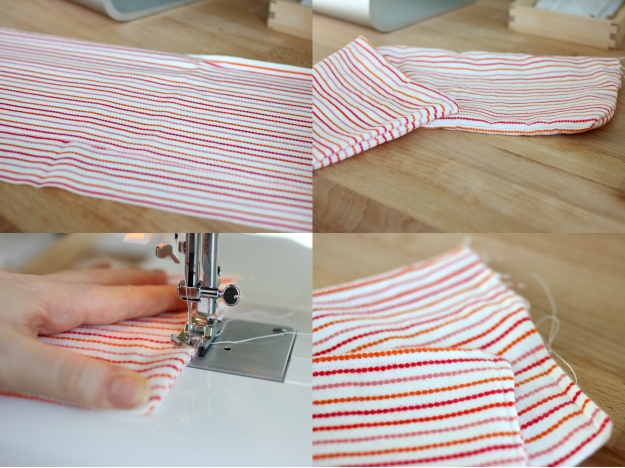
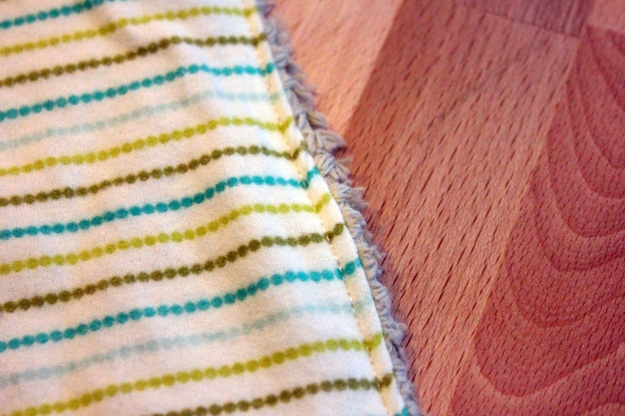
I used flannel fabric I found in my fabric stash (no clue what I bought it for originally or how much it cost) and cut two rectangles. They ended up being 16.5″ x 6.5″. I didn’t have any specific measurement going in, just eyeballed what looked good.

Turning the right sides to face each other, I sewed the two rectangles together leaving about a 2″ opening on one side.

I then turned it right side out and poked the three corners out. To give it a little extra reinforcement (I really don’t want a rice explosion at any point), I went ahead and stitched around the outside, still leaving the 2″ gap open.

IMG_8919_edited-1

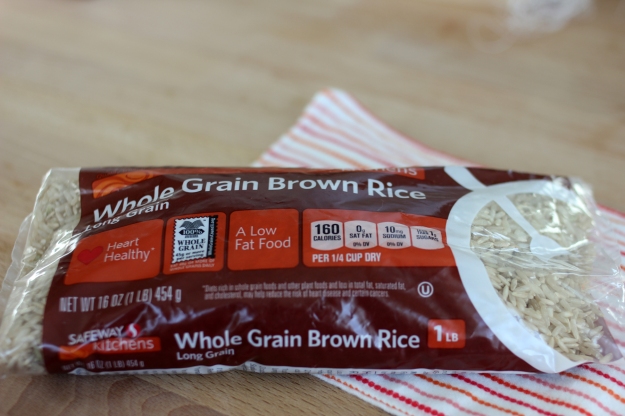
I picked up the cheapest bag of rice from Safeway. There are other materials you can use (beans, for example), but rice was easy and cheap.

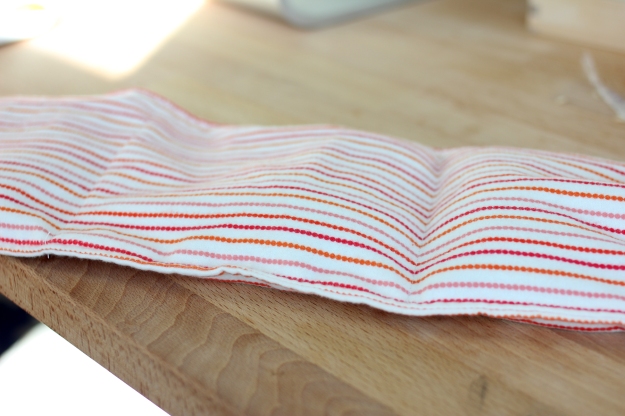
Using a funnel I made with a piece of paper, I dumped about a third of the bag in through the opening. Then I sewed a vertical line to keep that rice in it’s compartment. I repeated a second time. For the final compartment, I dumped in the remaining rice and then sewed the 2″ opening shut.

You don’t need to make compartments, but it was relatively easy and this keeps all the rice from pooling in one side of the pad. I can see this being useful if you’re using it lying down.

IMG_8921_edited-1

I made this incredibly simple because it’s for my own use. If I were making it for someone else I’d do a better job of measuring my compartments (they definitely are not even) as well as dividing the rice before pouring it in (again, not quite even amounts).
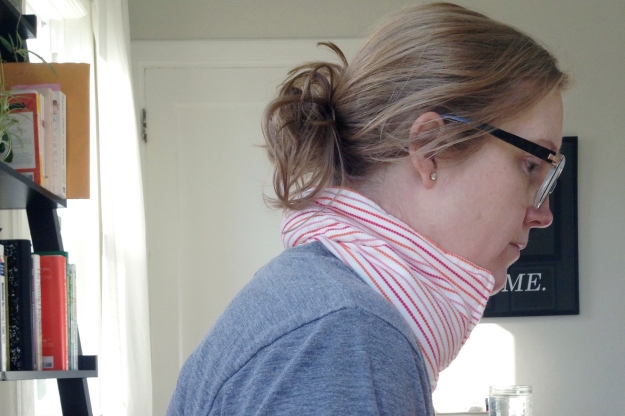
IMG_7072_edited-1I warmed it in the microwave, along with a glass of water (I read that the steam will keep the rice from burning), and was pleasantly surprised to see that it stayed warm around my neck for about 30 minutes.

Project: 15/35
Time: 30 minutes
Tutorial: inspired by browsing Pinterest
Cost: $1.50 (one bag of rice)
the (unintentional) toddler quilt

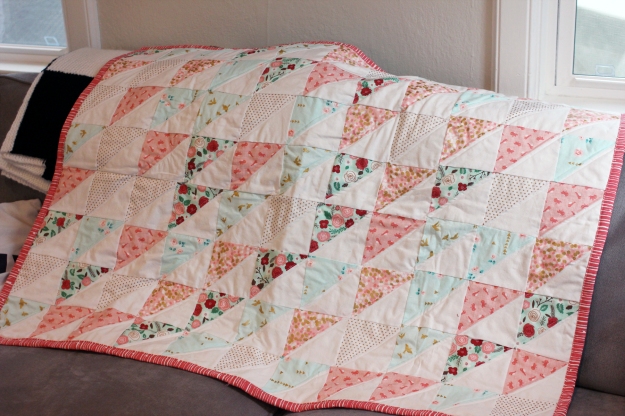
Back in June my best friend and I were discussing potential first birthday party themes for her daughter, Sloane. Eventually she settled on going with a girly color theme of coral and mint. My very first thought was “that would make the most adorable quilt”. Then reality hit and I remembered I was a few weeks out from my midterm and in middle of the first trimester. Quilting wasn’t high on my priority list, but I knew eventually I’d get around to making Sloane a first birthday quilt.

IMG_8741_edited-1

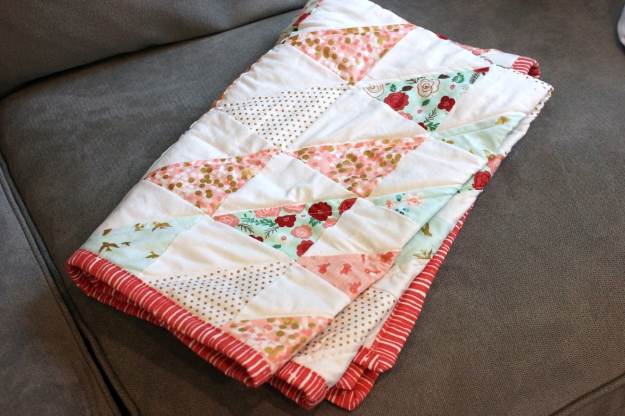
It’s just the sweetest thing, so girly with all the soft colors and lots of white.
IMG_8748_edited-1

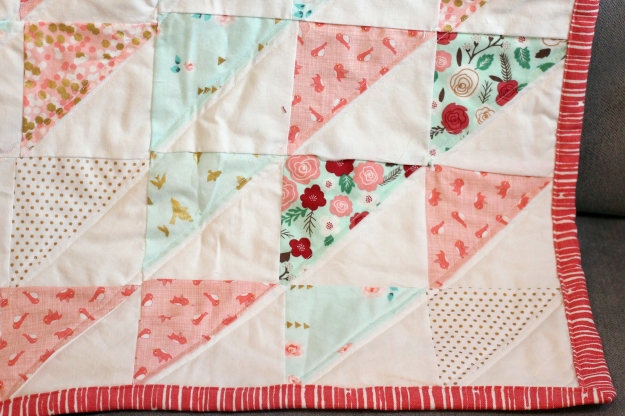
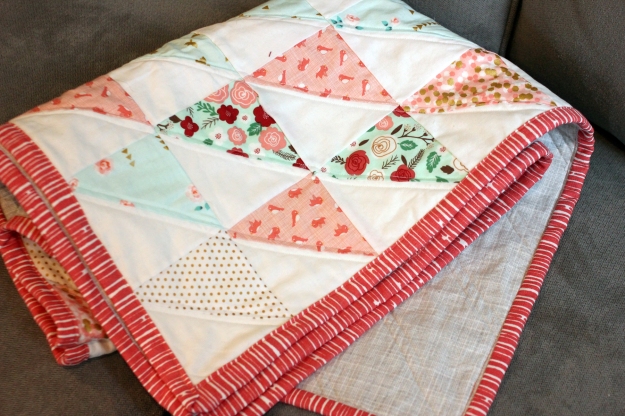
I used six different fabrics for the top, plus a striped fabric for the binding. I mixed gold in as well because I’m currently obsessed. The polka dots and pink birds were intentional to make it a little more toddler friendly. I thought about using coral thread for the quilting though I ended up going with white. I think I’m happy with that decision but not sure. The coral might have added a bit more fun. IMG_8743_edited-1

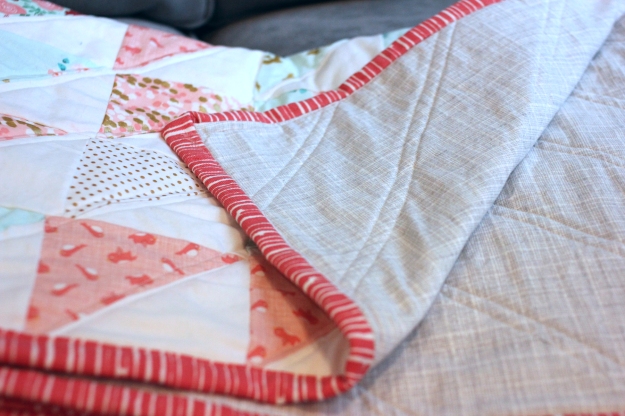
The back is a simple light gray crosshatch. I found this fabric at Joannes (everything else was purchased through fabric.com) and I think it might be perfect for pretty much every quilt backing. IMG_8746_edited-1

On to the confessions. I’ve found that with each quilt I learn something new, which is awesome. On this particular project I learned several something news.

First, the quilt is half the size it was intended to be. I’ve only made 60 x 44 quilts, which is a great size for adults (and it’s the largest size you can make while still using regular fabric for the backing). My math went wrong somewhere when I was calculating how many triangles I needed. I think I took the total number of squares and at some point divided in two one too many times to get the number of triangles. When I laid it out on the floor I realized it was more like 30 x 42. For about two seconds I thought about cutting more fabric and making it full sized. Then I realized that this quilt is for an 18 month old and this accidental size is just perfect. I also remembered that I was seven months pregnant and my back hurts. Quilting is back breaking work, so I quickly moved on.

I’ve had my sewing machine for a little over a year now and I feel like I’m finally figuring it out. I realized there is a thread cutter on the side of my sewing machine. Now I don’t have to pick up my scissors every time I need to cut the thread. This saves a huge amount of time and I feel like a bit of an idiot for not realizing it was there before. I also broke two needles making this quilt and so learned how to change the needle. The striped binding fabric is a little thicker than normal cotton and I had trouble with sewing through all the fabric on the corners.

IMG_8749_edited-1

Happy (very belated) first birthday, Sloane!

Project: 11/35
Time: ~10 hours
Tutorial: no tutorial (I can quilt on my own now!), but the layout was inspired by this
Cost: $43 (fabric was about $40 and coral thread for binding was $3; batting from my stash)

a ‘welcome to the family’ quilt

IMG_8495_edited-1

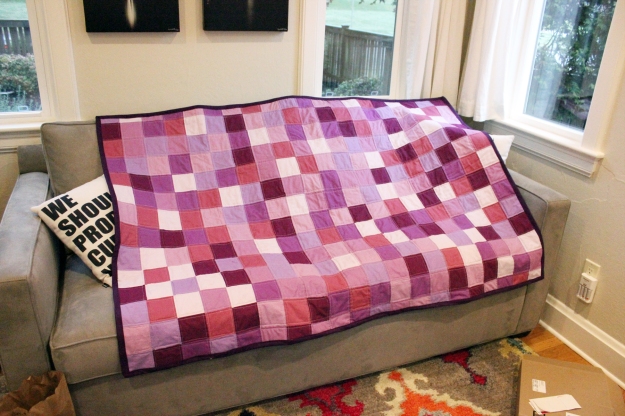
Over the summer I gained my fourth sister when Joey married Brittany. I had grand plans of making her a quilt as a shower gift. I bought material, came up with a design, and started on the project. Back in May. Then I put it on the shelf and during the first trimester and while finishing school, that’s where it stayed. Over the past few weeks I dusted it off and finished it, just in time to deliver it in person over Thanksgiving.

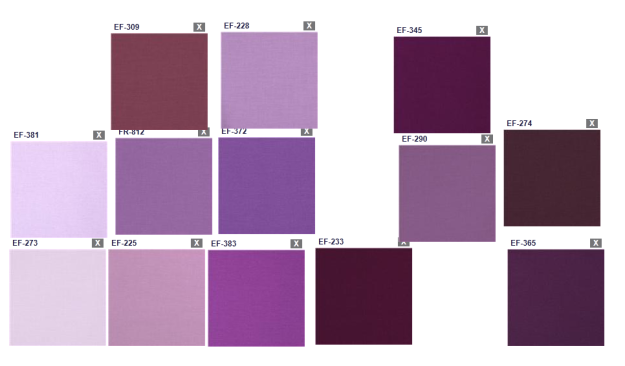
PUrple

Brittany loves purple and I wanted to do something in all solids, without any busy patterns. Most of the local craft stores don’t carry a large selection of solid colors, so I tried fabric.com for the first time. Overall I’ve been really happy with buying from them. You can create a design wall (above) to see how your various fabrics look together. I added all the purples I could find and mixed them around until I came up with 7 or 8 I liked together.

IMG_8062_edited-1

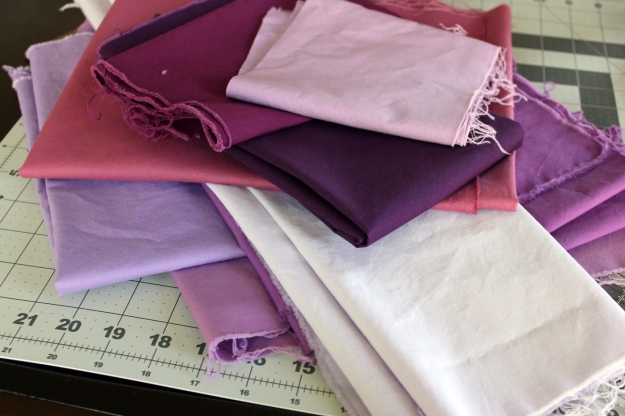
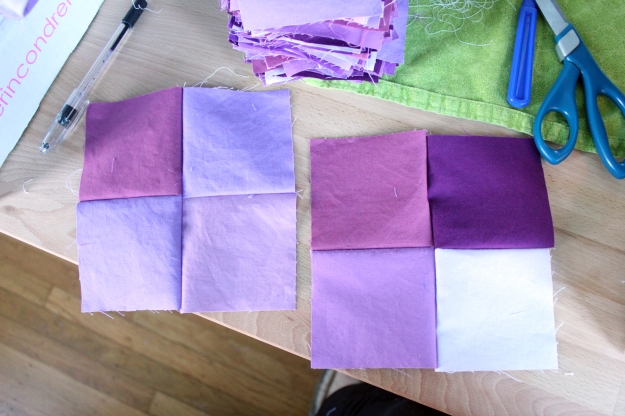
In person they were pretty true to the color on the screen. By this time I’d decided to go with a square patchwork quilt. This is the first time that I can think of when I made up my own design for a craft.

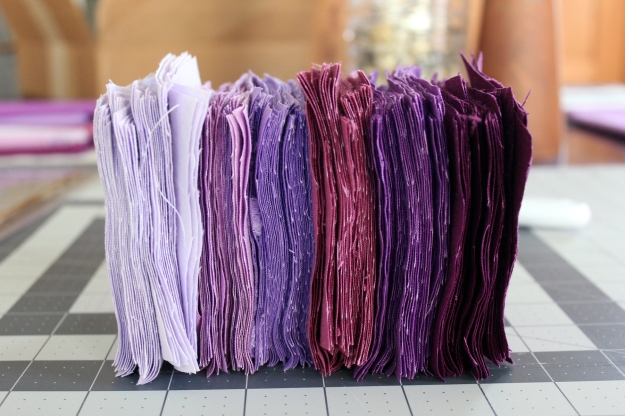
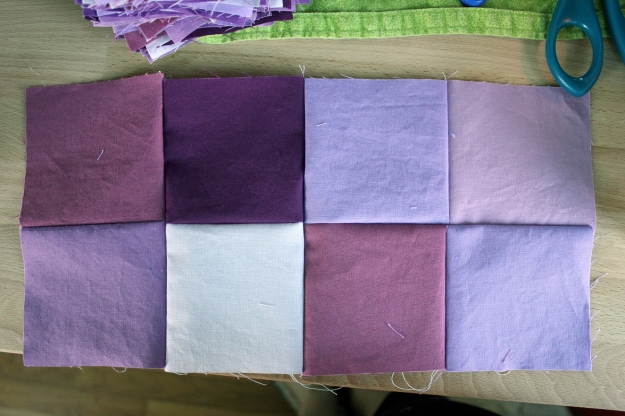
IMG_8065_edited-1I picked six of the colors for the top of the quilt and cut them into 3.5″ squares. In retrospect this was pretty small and meant a lot of cutting and sewing. But I love how it turned out so it was worth it.

IMG_8077_edited-1

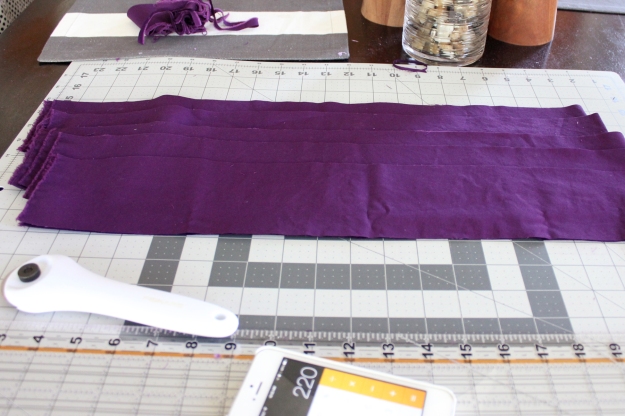
The seventh color I saved for the binding and cut it into long strips until I had about 220 inches, or a little more than the perimeter of my total quilt.

IMG_8092_edited-1Then I started sewing squares together. I definitely should have planned this better. Instead, I just keep adding on, making really big squares and rectangles. I think if I had been more methodical, the corners would match up better in the finished product.

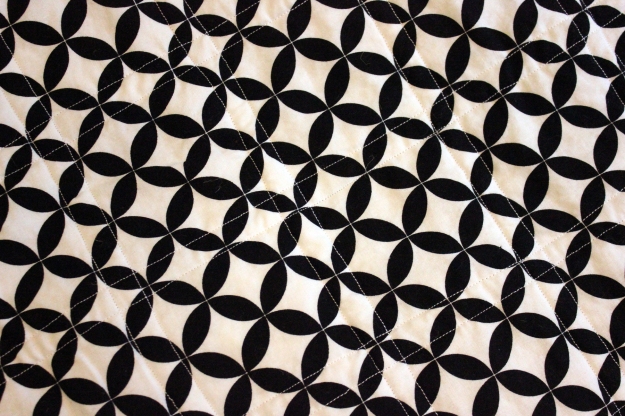
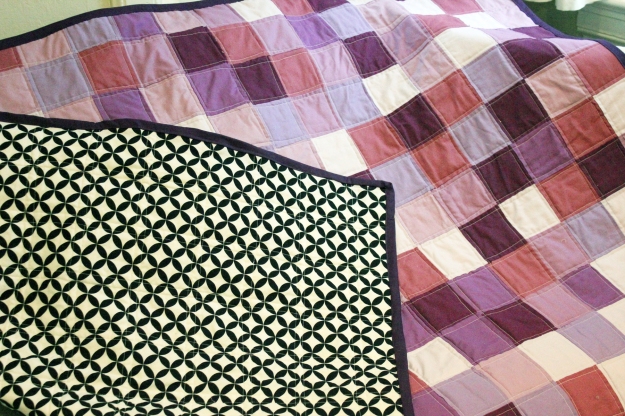
IMG_8094_edited-1When I left off in May, I had about half a quilt top sewn together and the rest of the squares just cut. I picked it up this month and finished the top first. Then I went to the fabric store to pick out a backing. I had originally bought a polk dot fabric, but it seemed a little juvenile. Instead I found a geometric black and white pattern that was still basic and not too loud, but seemed like a better fit for the look I wanted.

IMG_8457_edited-1

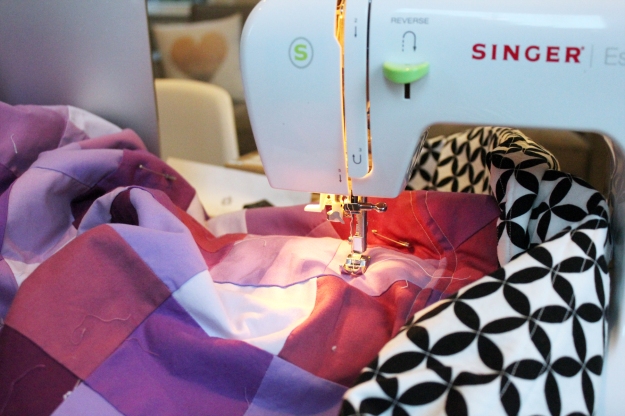
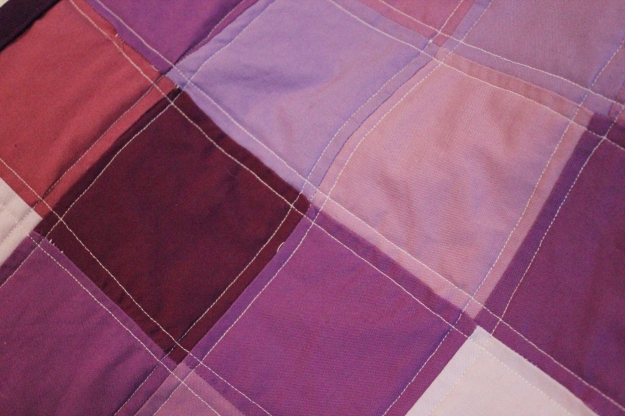
Note the difference between lovely May light and less than lovely November light here in the PNW. Next up was deciding how to quilt the top, the batting, and the backing together. I decided to go down both sides of every row and column. It looks great, but I had no idea what I was getting myself into. The only other quilt I’ve made had 15 lines of quilting on it. This one had 68. I underestimated just a little how long that would take.

I also underestimated how hard it would be to quilt at six months pregnant. I forgot just how much arranging, lining up, and pinning fabric happens on the floor. I’m not super mobile these days, but made it work.

IMG_8487_edited-1

I used white thread after having a hard time deciding on a color. I thought about silver or gold, but in the end just went with white. On the front, it really brightens things up a bit. IMG_8488_edited-1And on the back, it doesn’t take away from the pattern itself at all. I wasn’t sure about it at the time, but after the fact I think it was a good choice.

IMG_8484_edited-1

IMG_8485_edited-1

IMG_8491_edited-1

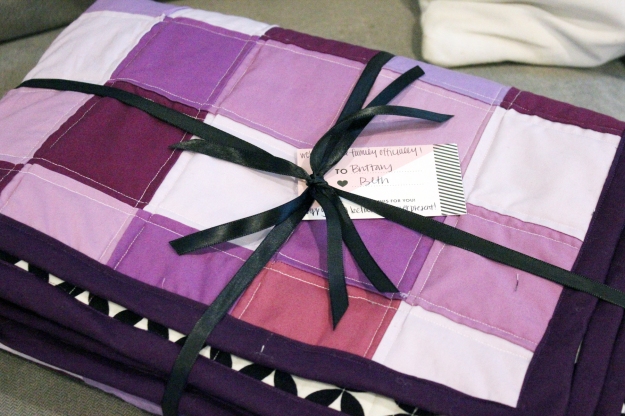
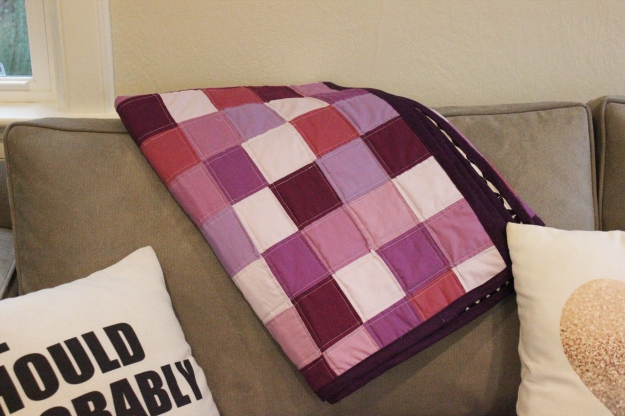
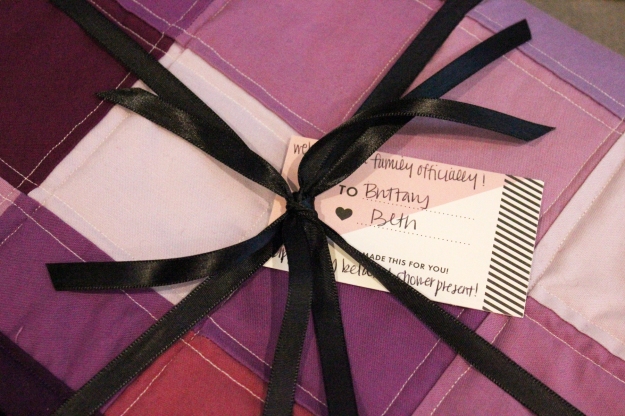
One of these days I need to make a quilt that is going to remain on our couch! I have one more in the queue before I start on Martian’s quilt. Hopefully it will be done before s/he arrives. IMG_8492_edited-1I added ribbon and an ‘I made this for you’ tag that came in the first Happy Mail box.

Project: 9/35
Time: not sure; somewhere around 15 hours in the last few weeks plus five hours in May
Tutorial: n/a
Cost: $50 ($20 – top and binding fabrics; $6 – thread; $14 – backing fabric; $9 – batting)

the pouf

IMG_8053_edited-1

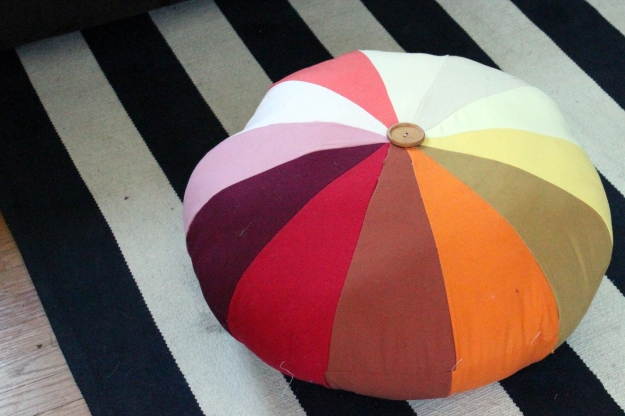
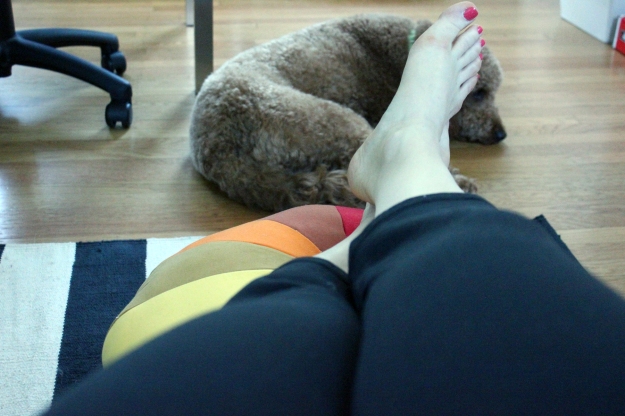
As part of my efforts to finish the office update, I made us a pouf. We don’t have a coffee table in front of the couch in order to keep the space open, but we needed something to put our feet up on.  IMG_4392_edited-2

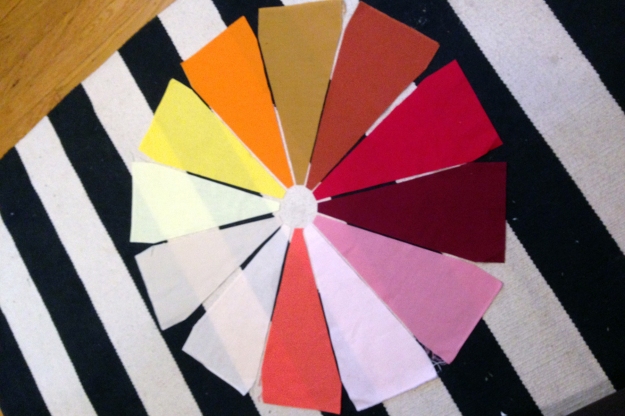
I’m not sure what it was about this project, but I found it really tedious and it took me months to finish. I bought fabric in January, cut it in February, sewed one half in March, and then finally finished it a week ago in May. It might be that I just have a lot going on and this felt like a project that I needed to finish but didn’t care much about by the time I sat down to complete it.

IMG_8055_edited-1

I’m not sure the pouf is going to last all that long. I think I might have overstuffed it, so the seems are already pulling a bit. For now, it’s serving it’s purpose as a foot rest at the desk or when we’re on the couch. 
IMG_8061_edited-1

Project: 6/35
Time: 3 hours
Tutorial: Sewing 101: Making a Pouf
Cost: $20 (that’s a guess, bought the fabric awhile ago and don’t have the receipt)

washcloths

IMG_7999_edited-1Back in the summer of 2011 I started following the Oil Cleansing Method for washing my face. I absolutely love it and if you know me in real life you know I can talk about the amazingness of coconut oil for hours (sorry, friends). As part of the method, you steam your face with a washcloth, requiring you to own several.

When I first decided to try, I went to Target and bought two bundles of white washcloths. I never replaced them and 2.5 years later they were looking very sorry. So sorry Greg even mentioned it might be time to replace them. (He also mentioned that because they were looking so dirty he thought we were using them as rags now, but we’ll pretend that part didn’t happen.)

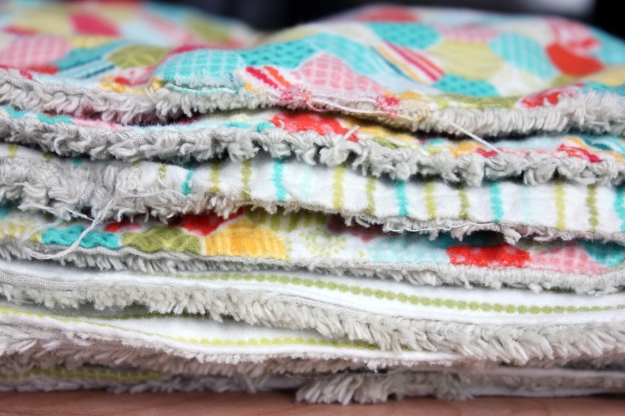
For my fifth sewing project, I decided to make myself new wash cloths. I planned this months ago and purchased supplies. At some point in February I cut the fabric and made a few of the washcloths. This weekend I finally sat down and finished. This was incredibly tedious, but I ended up with really soft washcloths that won’t be mistaken for rags. I’ve had a couple in rotation for nearly two months know and they are holding up in the wash.

IMG_7988_edited-1

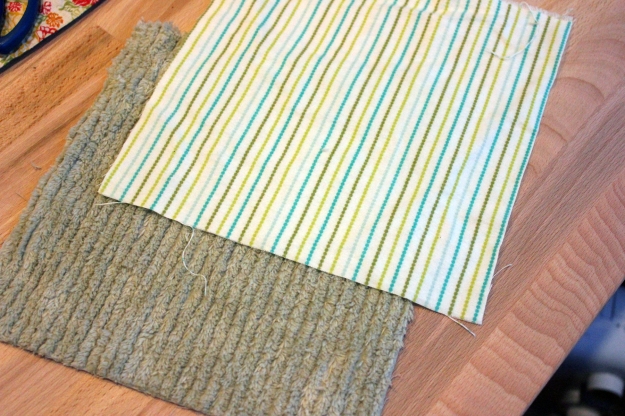
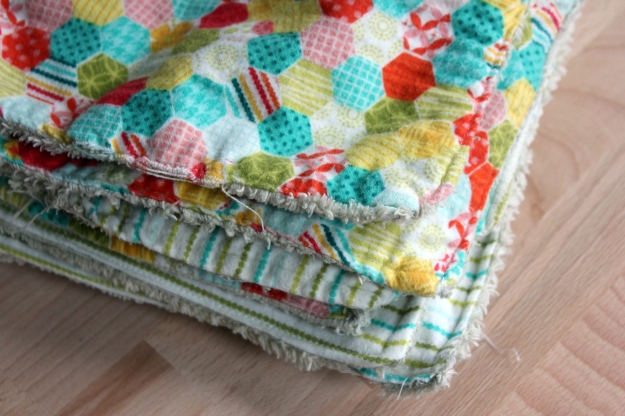
I cut squares out of terrycloth and flannel fabric. I ordered a light green terrycloth and two coordinating flannels from fabric.com. I think in the future I’ll stick with buying in store; there was nothing wrong with the fabrics I received, it’s just so much more fun to pick out in person. IMG_7992_edited-1

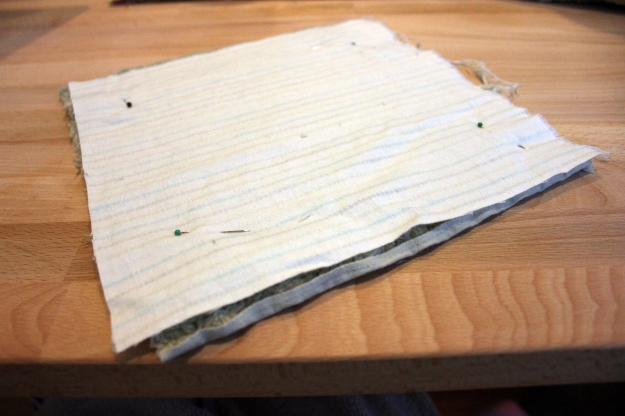
Pinned together right sides of the fabric.IMG_7982_edited-1

Sewed around all but half of one side. IMG_7987_edited-1

Pulled the fabric through, then sewed around the outside again (somewhat carefully folding in the half side that had not been sewn yet).IMG_7997_edited-1

Project: 5/35
Time: 3 hours
Tutorial: Baby Washcloth Tutorial
Cost: $10 (that’s a guess, bought the fabric awhile ago and can’t find the receipt)

the 2014 winter bucket list

winter bucket listMy first time writing 2014, so crazy. This bucket list looks a little less fun and a little more self-improvement, but I think if you start the first ten weeks of the year off with a solid foundation the year can only be great, right? Besides, in Seattle winter the days are short and dark. Might as well get all the improvements going in winter so the summer bucket list can be full of fun for long, warm days.

“Winter” is going to be Jan 6th – March 16th. It’s a little arbitrary, but going all the way to Memorial Day is too long. Easter is late this year at the end of April and isn’t a good cut-off either. Ten weeks sounded good, so mid-March it is.

1. Attend Barre3 five times a week. I recently switched up my exercise routine after taking all of December off. I no longer belong to my CrossFit gym and started Barre3, a combo of ballet, yoga, and pilates. Five days a week seems a little daunting, but I’m making it a top priority as my mental state seems to be so much better when I make exercise a part of my routine. My physical state could also use the health.

2. Bring breakfast to work every day, bring my lunch to work four days a week, and eat a homemade dinner five nights a week. Speaking of ensuring good mental and physical health, food is right up there with moving. We went WAY off track in December and ate more take-out than I’ve ever eaten in my life. I’m committing to making making our food a priority. Oh, and everything I make at home will be Whole30 compliant.

3. Redo our office. I mentioned this in my house goals post, it’s time we reorganize our office to better fit how we use it. We spend so much time in that room (it’s really more like a family room than an office) and we can improve how it’s laid out.
4. Create my craft closet. The second of our house goals that I want to attack in the next few months. Things are getting out of hand on my desk and with the office reorg Greg and I will be sharing one. It definitely will not work if my craft gear is everywhere, so into the closet I go.

5. Finish closet and jewelry organization. I started this in the fall and never finished, so it’s back on the list again.

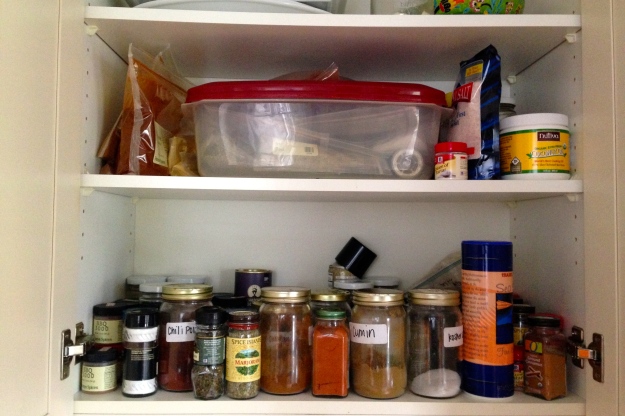
6. Organize the spice jars. This might sound silly, but I have a ton of spices (and use them!) and they are a complete and total mess. It takes me a while to find anything and usually involves a few jars falling out of the cupboard while I’m searching through them. So far nothing has broken but it’s really just a matter of time.

IMG_3993

7.  See something new in Washington. I really have seen so little of that state since moving here in 2011. I don’t have anything specific in mind and am leaving the options open for whatever might come up.

8. Go on a winter getaway. Last year’s long weekend in Phoenix was fantastic. We’re figuring out where to go this year to keep our (my?) winter sanity.

IMG_1925_edited-1

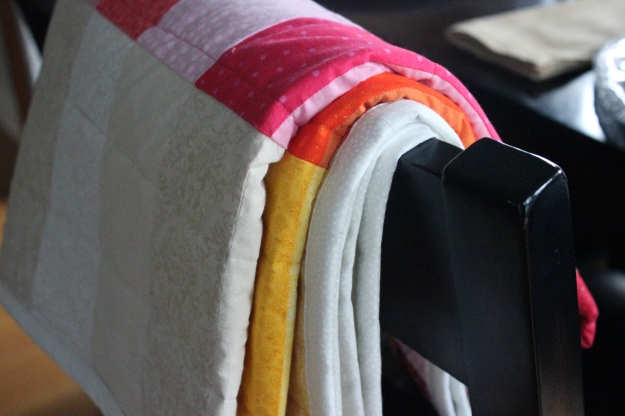
9. Replace two of our dog-chewed blankets with homemade ones. Right now I’m thinking one knit and one quilt, but we’ll see what I end up doing.

10. Send five cards. I’m going to start a snail-mail revolution.

a quilt for grandma janet

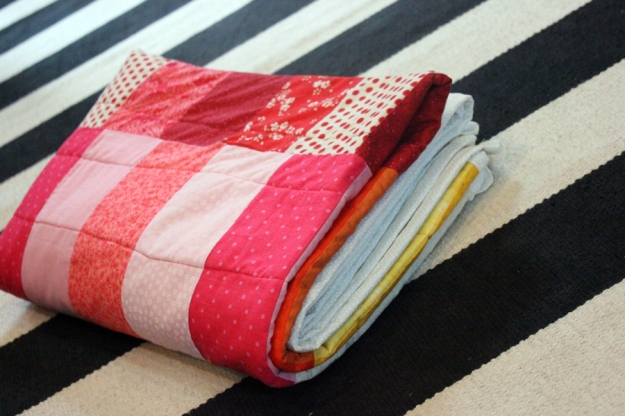
IMG_7644_edited-1

My grandma Janet recently started chemo. Since she is in southern California and I am not I wanted to do something special for her in lieu of being able to visit.

I’ve heard (okay, I’ve seen on TV) that it’s usually freezing in the hospital during chemo treatments. I’m not sure if this is true, but I decided to try making a quilt. I wasn’t entirely sure it would come out well enough to give as a gift but dug in anyway.

I followed a very similar color palate as the one from the tutorial I used. I was going for “cheerful” and these colors seemed perfect. I loved that orange fabric with the leaves but ended up cutting it the wrong size twice, and only had enough to use it twice.IMG_3778_edited-1

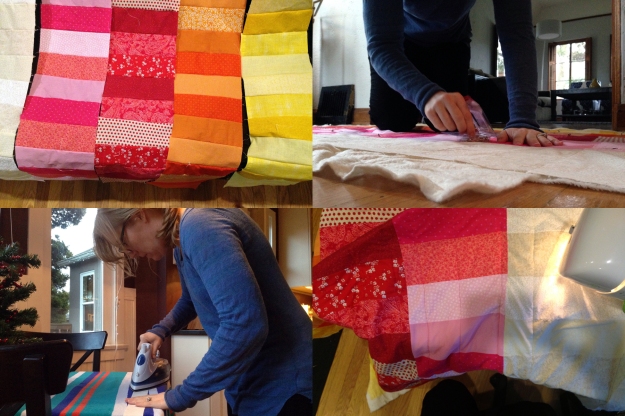
Action shots. The ratio of sewing to ironing is pretty much 1:1 in quilt making. I think I should probably upgrade to an actual ironing board for my back’s sake.quilt

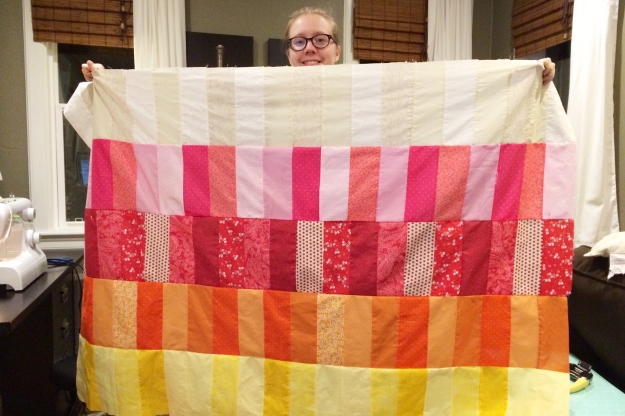
I was super proud of finishing the top. I don’t know what happened with the red, but the seams on the other four colors actually line up much better than I was expecting.IMG_3820_edited-1

I worked on the project for three weeks, usually just an hour or two at a time. Quilting projects are made up of a million steps. It might seem daunting, but I actually like that there are so many steps to break up the work into. It makes it much easier for me to work on it for an hour after work versus clearing a whole weekend to complete one from start to finish. IMG_7643


I love the back. It’s really simple and definitely far from perfect, but I think the colorful striped thread is so cheerful.

IMG_7675_edited-1This was the second project I tackled from the Get Quilty eCourse, so again I’m not posting any of the specific steps. It was very easy to follow and I made a few improvements over my winter table runner. I learned how to use a seam ripper to rip only the seams, not fabric. I also didn’t have to stop every five minutes to fix something with the sewing machine. That was huge. I am guessing that is just coming from practice.

IMG_7647_edited-1

Project: 4/35
Time: 12 hours (?)
Tutorial: Get Quilty eCourse
Cost: $72.17 ($65.77 fabric, batting, thread; $6.40 1/5 eCourse cost)

This sounds quite expensive, but it’s mostly ‘start-up’ costs: I had to buy three more colors of thread ($10), to get all the different patterns I bought 1/4 yard of 19 fabrics and probably used just over half of each, I started with a gray fabric for the binding but ended up going with creams so that went unused, I got lazy at the last minute and bought the final backing and binding fabrics from a local shop without sales or coupons. My guess is once I collect thread in most colors and build up a collection of scrap fabric, a quilt will cost between $30 and $40.

a winter table runner

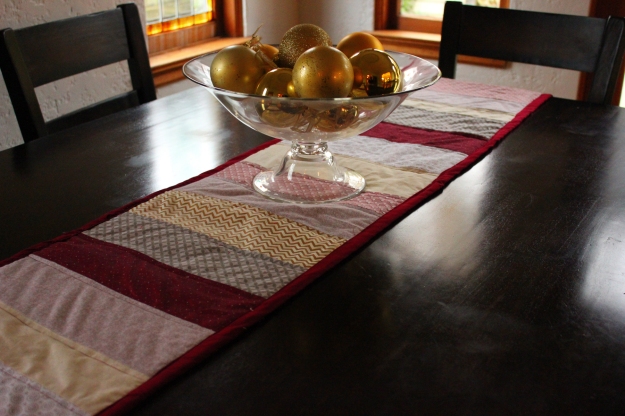
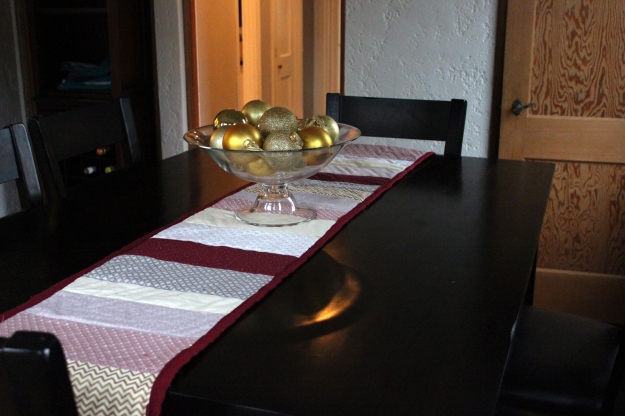
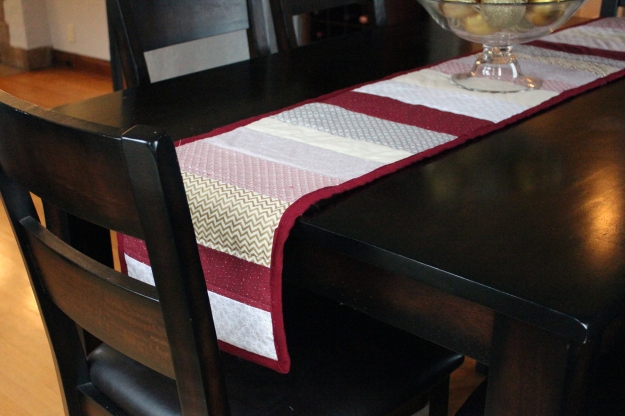
IMG_7247_edited-1

Over the long weekend I finished my winter table runner.

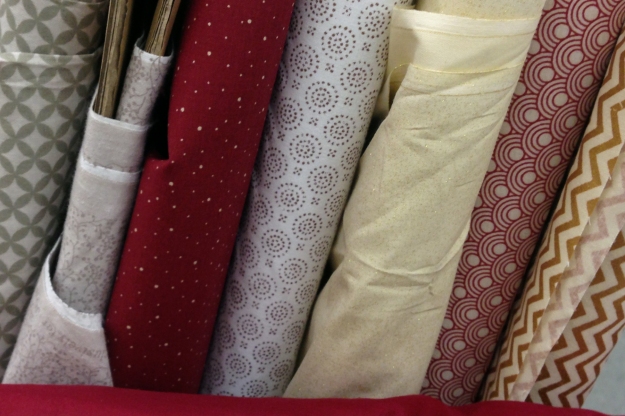
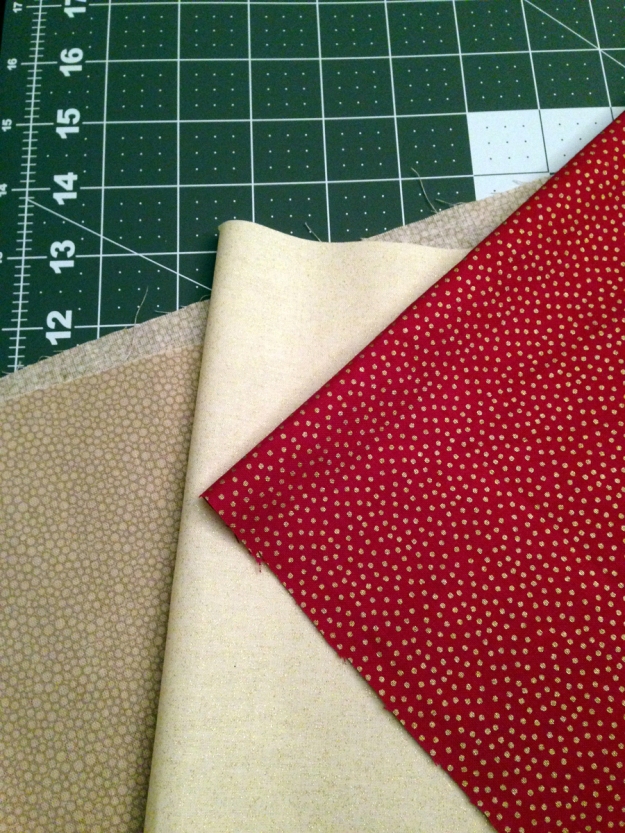
I went with “wintery” colors over more traditional Christmas colors because I couldn’t get a good mix of red and green fabrics that didn’t scream COUNTRY CHRISTMAS across Jo-Ann Fabrics. Gray, burgundy, and gold felt right so I decided to call it a winter runner instead of a holiday one.

IMG_3630_edited-1

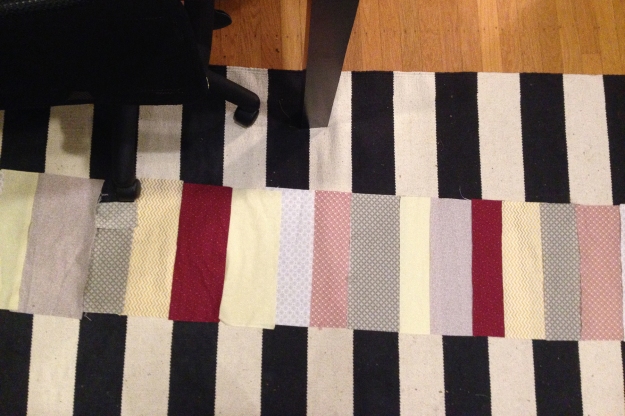
I worked on this for about two weeks on and off and didn’t keep track of the time exactly but my guess is I put in between 4 and 5 hours. IMG_3632_edited-1

I cut the strips and organized the fabric order at 4am one morning when I couldn’t sleep. One benefit of a traveling husband is no one knows you are a weird lady who irons fabric at 3:45am in the kitchen. Except now the internet knows. IMG_7250_edited-2

I’m not posting any of the specific steps because the tutorial I used is from an eCourse I bought and that doesn’t seem like something I should do. It was very easy to follow, though definitely the hardest project I’ve done to date. IMG_7256_edited-1

It is FAR from perfect and I found binding (the burgundy fabric around the outside) very hard. There are no close-up pictures for a good reason! But I love it. The first of my homemade holiday decorations. Now I am on the hunt for candle holders or something else to add to the table. Upcycled, of course.
Project: 3/35
Time: 4 – 5 hours
Tutorial: available in the Get Quilty eCourse
Cost: $32.09 ($25.69 – fabric, quilted backing, thread; $6.40 – 1/5 the cost of the eCourse)
five on friday

1. I’m working on my first sewing project that I didn’t manage to finish in one or two sittings. I’m making a holiday table runner and I’m loving it. I went with a burgundy, gray, and gold color scheme. I’m hoping it will turn out more ‘wintery’ than ‘Christmasy’ so I can keep it out longer than the holidays.IMG_3630_edited-1

2. Our meat order is ready for pick-up this weekend! We are getting 1/4 cow and a lamb. I’m excited for a winter (and whole year, really) of fun cooking experiments. I’ve been researching how to organize the chest freezer and I’m leading towards going with the canvas bag approach. I might also need that chalkboard paper.

3. Ink arrived for the printer and I’m hoping to spend a good chuck of my weekend catching up on Project Life from early October. It’s a little daunting, not to mention I’m starting to get wary towards the end of a 52 week project. I still love PL and plan to continue into 2014, I just have some new ideas I’m looking forward to trying so must power through the rest of this year.

4. I’m trying to get better at giving myself a manicure, so I’ve been practicing. My best tip so far: Start with painting your dominant hand first. I automatically pick up the polish with my dominant hand and start painting my non-dominant first. But I’ve found that it’s much easier to use your non-dominant hand if you aren’t worried about messing up the polish that you’ve painted on it.

5. Greg is possibly the world’s best dishwasher loader and for that I’ve very thankful.

flag banner

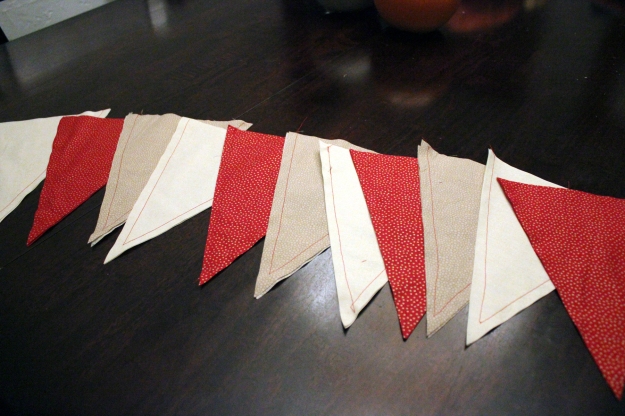
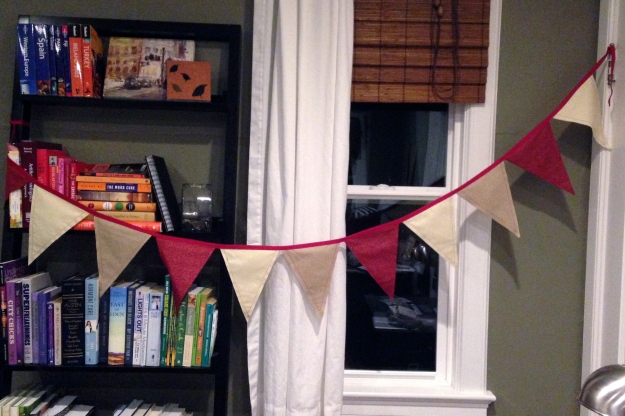
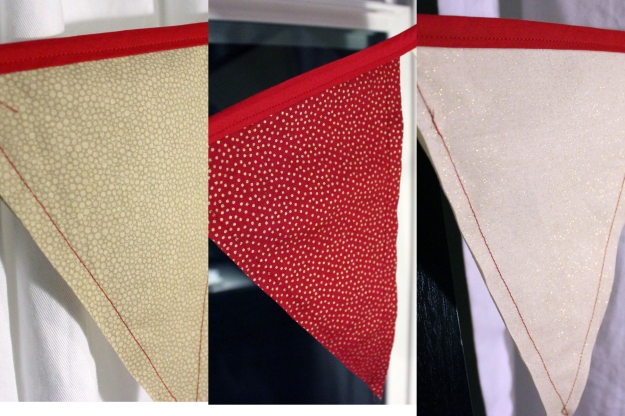
For my second sewing project I made a flag banner for Becky’s wedding shower. It was the first time I’ve gone to Jo-Anne’s to pick coordinating fabrics. Since Christmas is coming up and Becky’s shower already had a red + kraft theme going, I selected fabrics that would work for the shower and be a fun Christmas decoration for her after.

IMG_3621_edited-1

The tutorial I found was very easy to follow. I skipped washing the fabric since it’s likely a banner won’t need to be washed down the road. One mistake I made was to cut them rights sides together (thinking I would avoid any marks on the right side), but when I flipped to sew them together they didn’t match up perfectly.

IMG_7193_edited-1

My flags are far from perfect, but they look decent. I found sewing the flags to the bias tape the hardest part. Actually, the sewing was not hard, but getting the flags into the bias tape to pin them was way harder than it should have been.

IMG_3627_edited-1Untitled-1

Time: 90 minutes
Tutorial: Pennant Banner
Cost: $7.55 (fabric, thread, bias tape)