Tag Archives: 35×35

washcloths

IMG_7999_edited-1Back in the summer of 2011 I started following the Oil Cleansing Method for washing my face. I absolutely love it and if you know me in real life you know I can talk about the amazingness of coconut oil for hours (sorry, friends). As part of the method, you steam your face with a washcloth, requiring you to own several.

When I first decided to try, I went to Target and bought two bundles of white washcloths. I never replaced them and 2.5 years later they were looking very sorry. So sorry Greg even mentioned it might be time to replace them. (He also mentioned that because they were looking so dirty he thought we were using them as rags now, but we’ll pretend that part didn’t happen.)

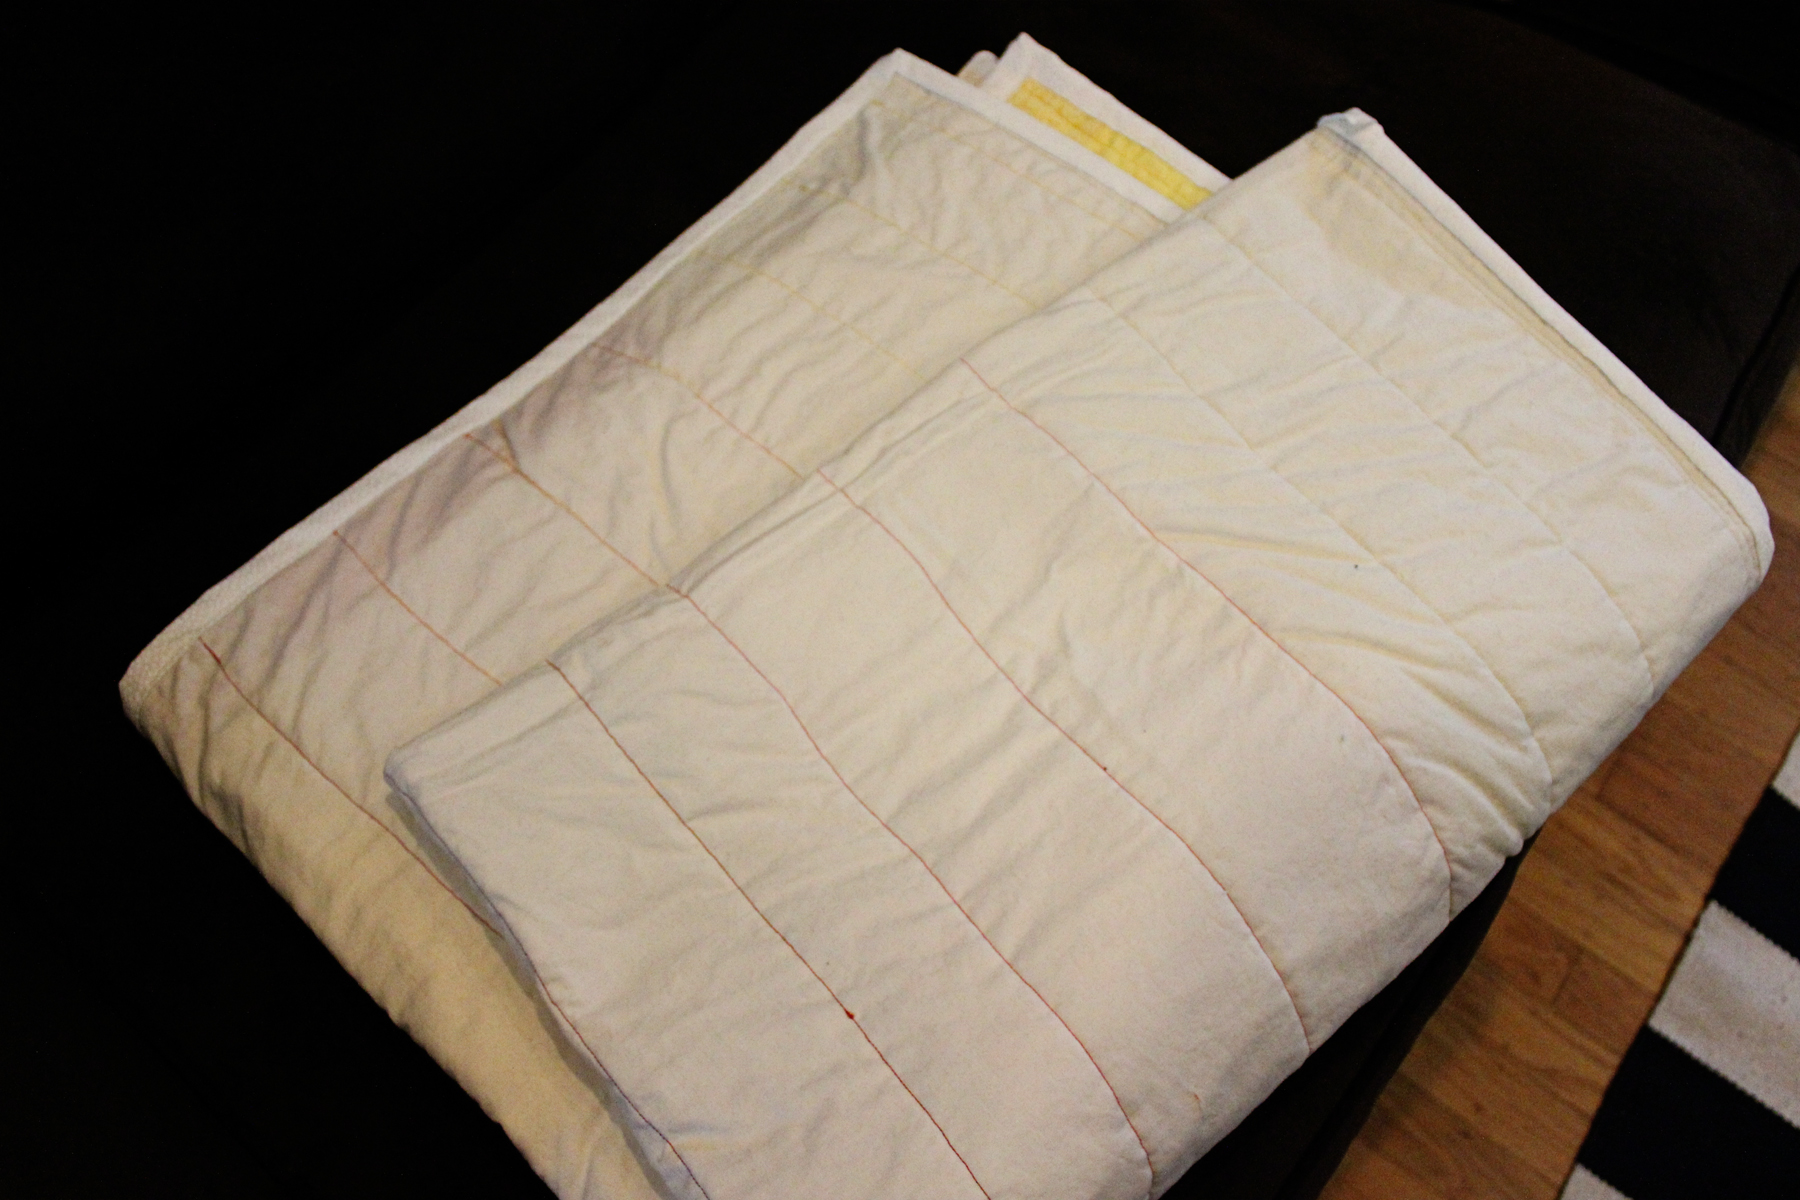
For my fifth sewing project, I decided to make myself new wash cloths. I planned this months ago and purchased supplies. At some point in February I cut the fabric and made a few of the washcloths. This weekend I finally sat down and finished. This was incredibly tedious, but I ended up with really soft washcloths that won’t be mistaken for rags. I’ve had a couple in rotation for nearly two months know and they are holding up in the wash.

IMG_7988_edited-1

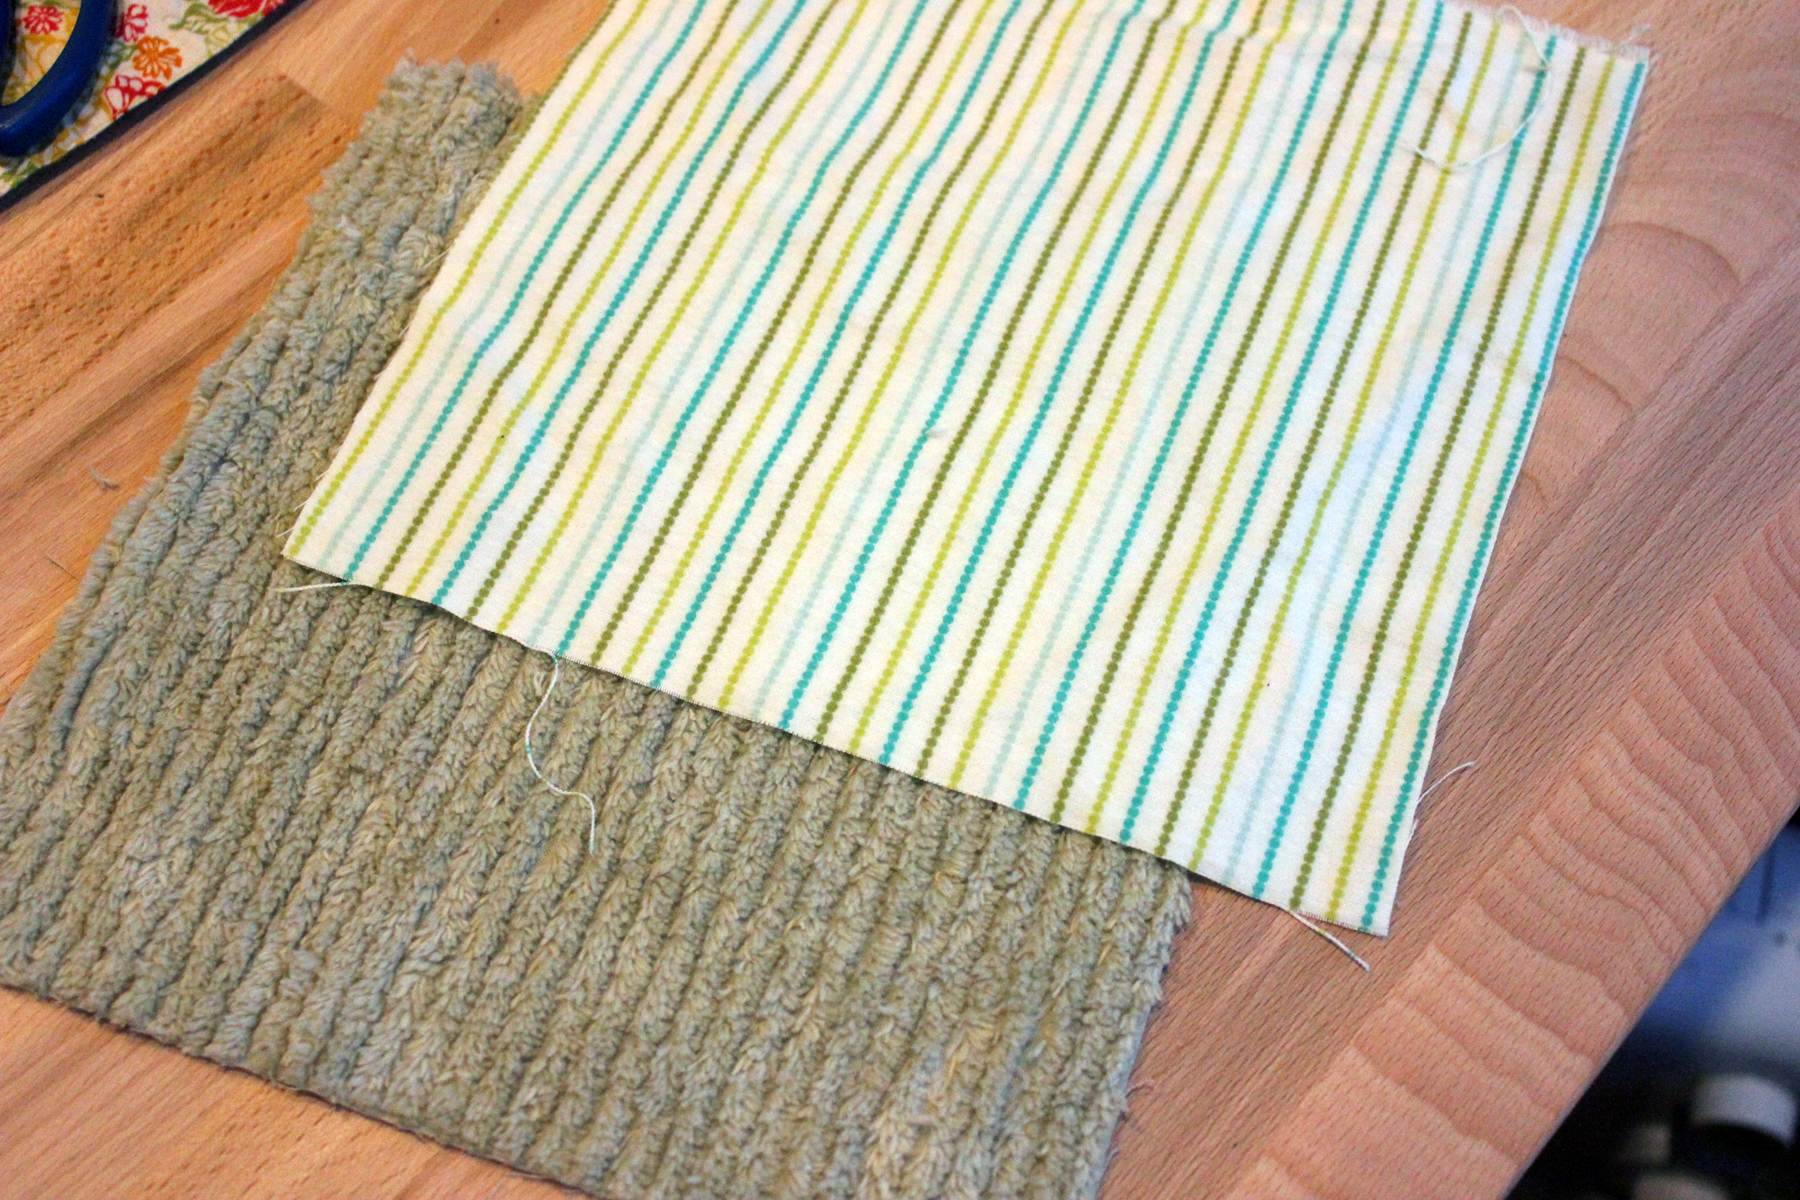
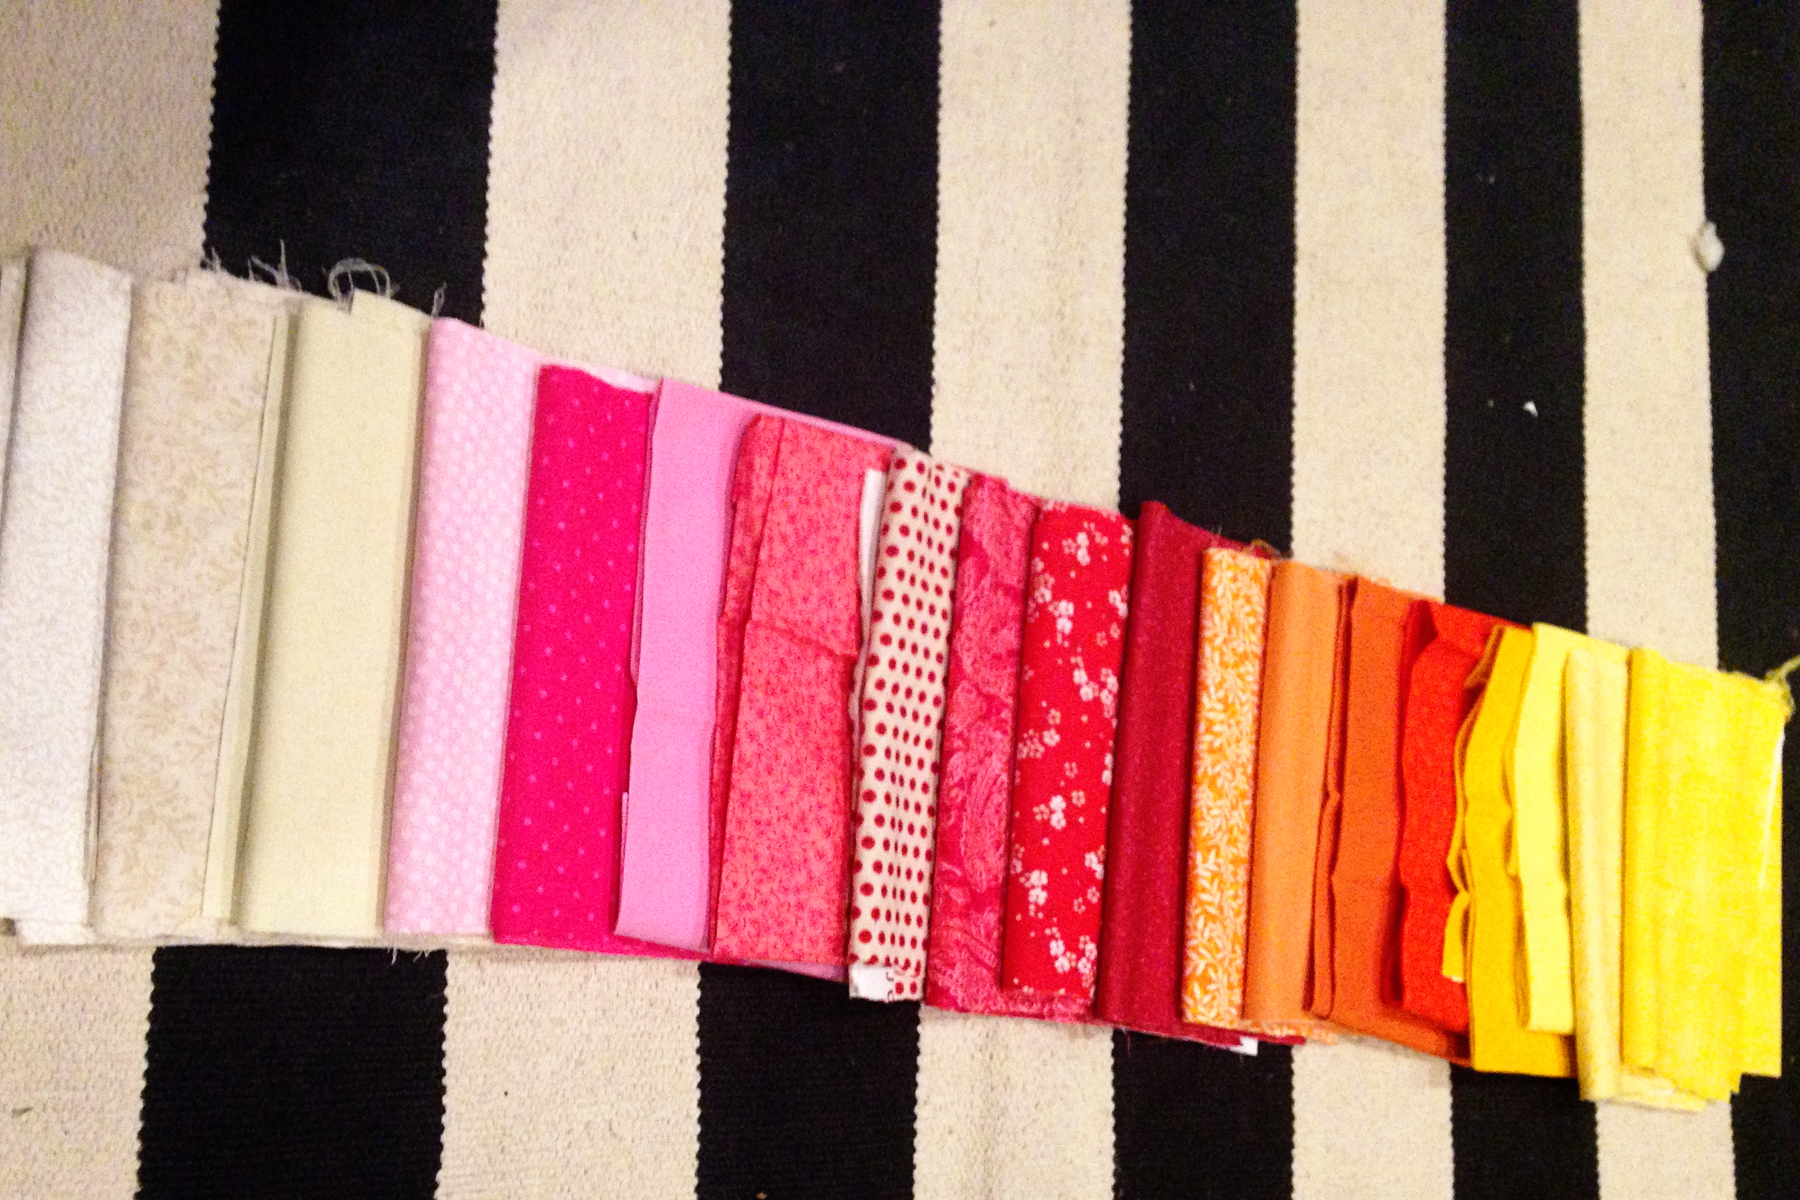
I cut squares out of terrycloth and flannel fabric. I ordered a light green terrycloth and two coordinating flannels from fabric.com. I think in the future I’ll stick with buying in store; there was nothing wrong with the fabrics I received, it’s just so much more fun to pick out in person. IMG_7992_edited-1

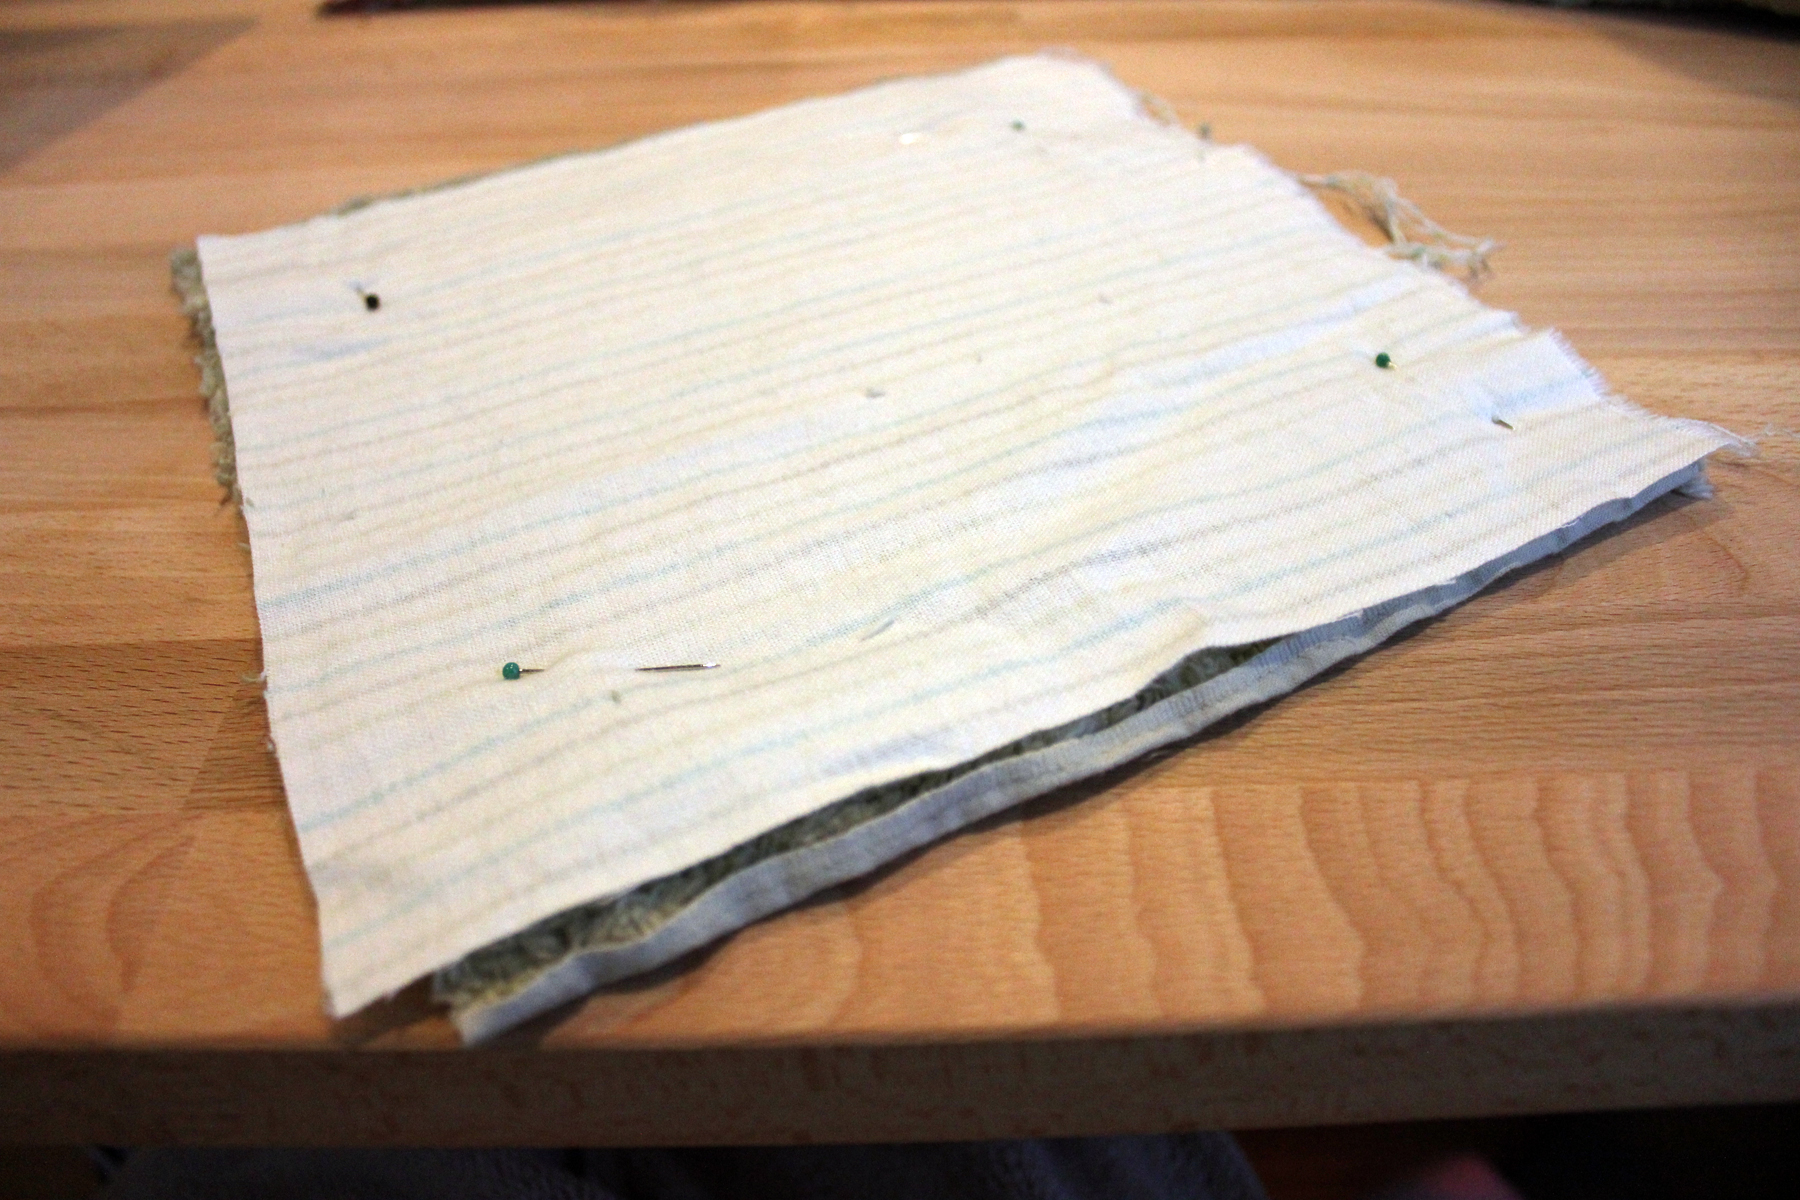
Pinned together right sides of the fabric.IMG_7982_edited-1

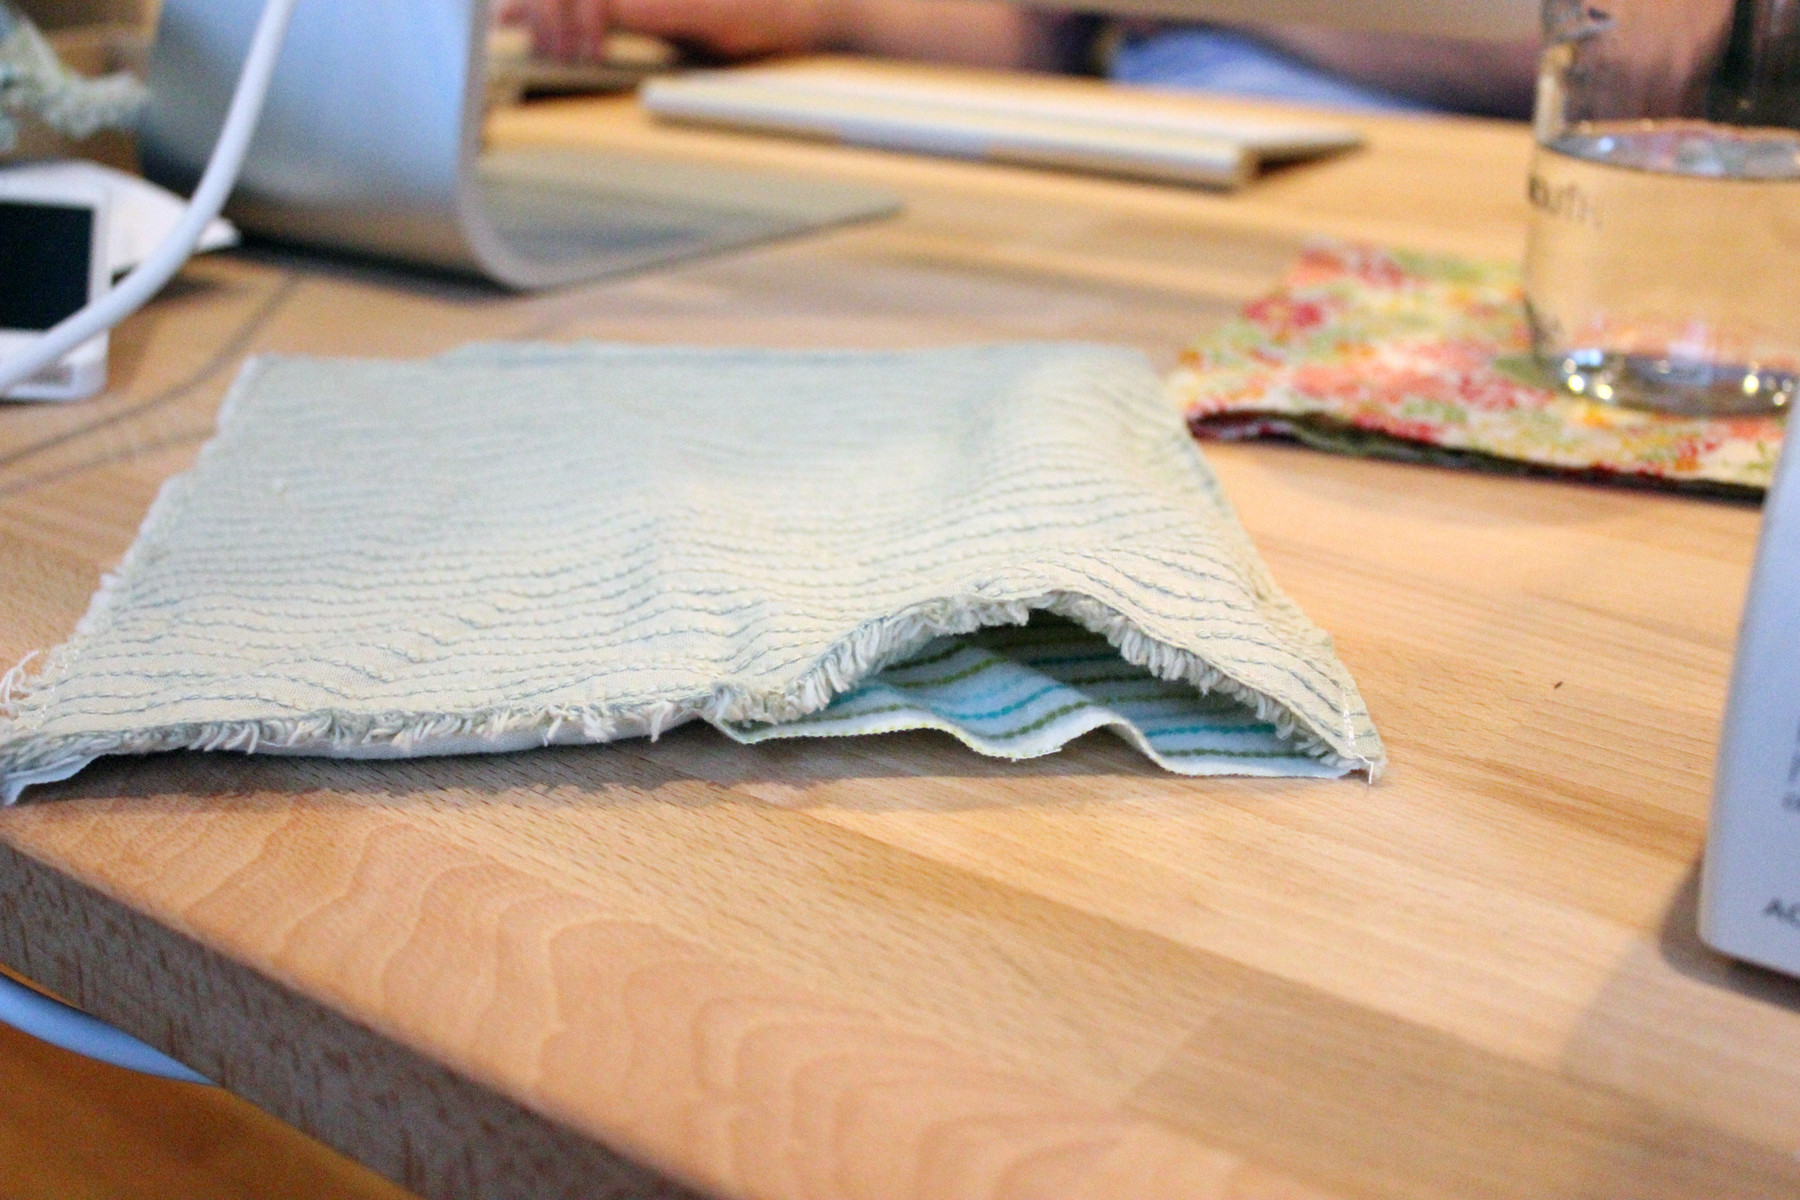
Sewed around all but half of one side. IMG_7987_edited-1

Pulled the fabric through, then sewed around the outside again (somewhat carefully folding in the half side that had not been sewn yet).
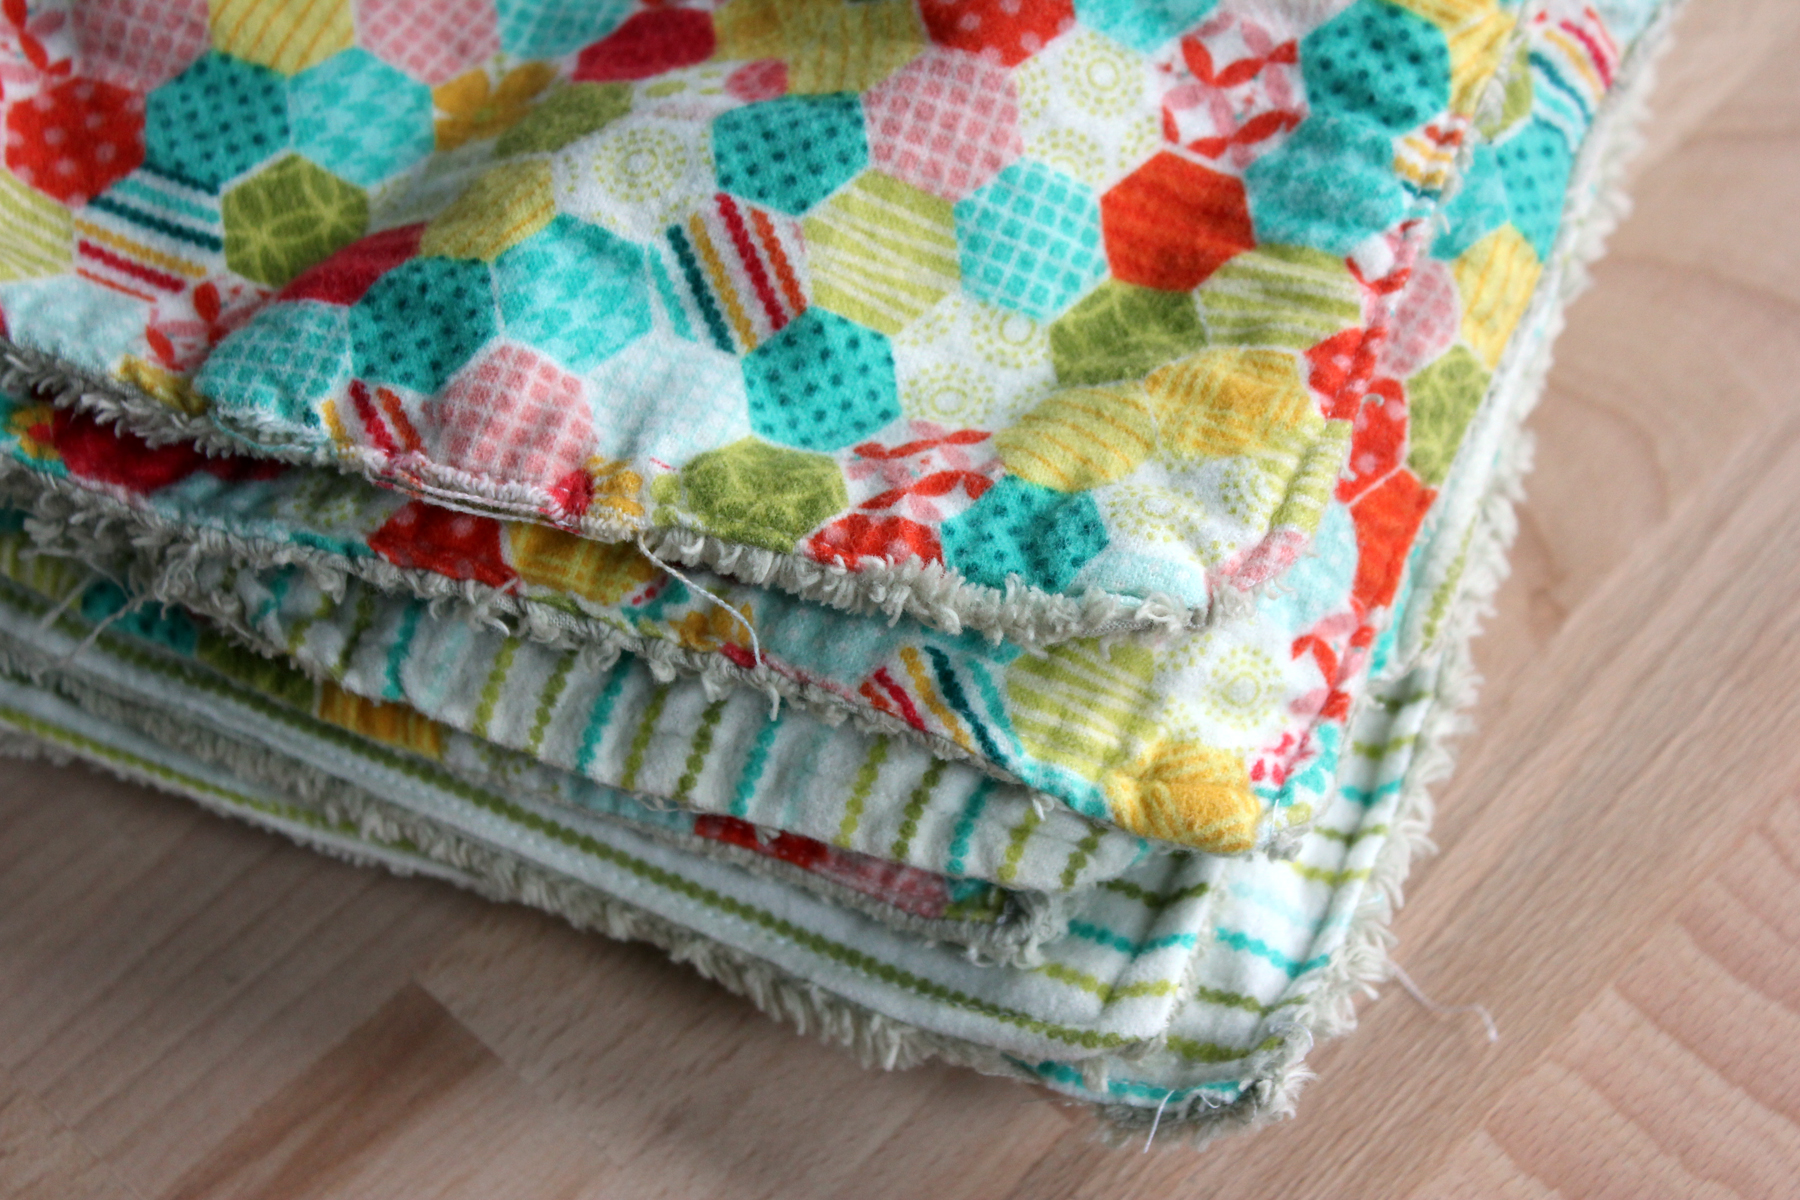
IMG_7997_edited-1

Project: 5/35
Time: 3 hours
Tutorial: Baby Washcloth Tutorial
Cost: $10 (that’s a guess, bought the fabric awhile ago and can’t find the receipt)

a quilt for grandma janet

IMG_7644_edited-1

My grandma Janet recently started chemo. Since she is in southern California and I am not I wanted to do something special for her in lieu of being able to visit.

I’ve heard (okay, I’ve seen on TV) that it’s usually freezing in the hospital during chemo treatments. I’m not sure if this is true, but I decided to try making a quilt. I wasn’t entirely sure it would come out well enough to give as a gift but dug in anyway.

I followed a very similar color palate as the one from the tutorial I used. I was going for “cheerful” and these colors seemed perfect. I loved that orange fabric with the leaves but ended up cutting it the wrong size twice, and only had enough to use it twice.IMG_3778_edited-1

Action shots. The ratio of sewing to ironing is pretty much 1:1 in quilt making. I think I should probably upgrade to an actual ironing board for my back’s sake.quilt

I was super proud of finishing the top. I don’t know what happened with the red, but the seams on the other four colors actually line up much better than I was expecting.IMG_3820_edited-1

I worked on the project for three weeks, usually just an hour or two at a time. Quilting projects are made up of a million steps. It might seem daunting, but I actually like that there are so many steps to break up the work into. It makes it much easier for me to work on it for an hour after work versus clearing a whole weekend to complete one from start to finish. IMG_7643


I love the back. It’s really simple and definitely far from perfect, but I think the colorful striped thread is so cheerful.

IMG_7675_edited-1This was the second project I tackled from the Get Quilty eCourse, so again I’m not posting any of the specific steps. It was very easy to follow and I made a few improvements over my winter table runner. I learned how to use a seam ripper to rip only the seams, not fabric. I also didn’t have to stop every five minutes to fix something with the sewing machine. That was huge. I am guessing that is just coming from practice.

IMG_7647_edited-1

Project: 4/35
Time: 12 hours (?)
Tutorial: Get Quilty eCourse
Cost: $72.17 ($65.77 fabric, batting, thread; $6.40 1/5 eCourse cost)

This sounds quite expensive, but it’s mostly ‘start-up’ costs: I had to buy three more colors of thread ($10), to get all the different patterns I bought 1/4 yard of 19 fabrics and probably used just over half of each, I started with a gray fabric for the binding but ended up going with creams so that went unused, I got lazy at the last minute and bought the final backing and binding fabrics from a local shop without sales or coupons. My guess is once I collect thread in most colors and build up a collection of scrap fabric, a quilt will cost between $30 and $40.

recapping the fall 2013 bucket list

IMG_3149_edited-2Instead of being at our company’s holiday party, I’m home on the couch fighting a terrible cold. This will probably go down as one of the weeks of my life I’d least like to relive. But I’m reminding myself that the less than awesome times are what make the good times so awesome. I’m out of TV, don’t have the energy to work on my Project Life album, and reading seems really hard. Recapping fall seems like a reasonable task, so here we go.

1. Try five new soup recipes. // I made three new soups and they were all winners. You can find them here: sweet potato chili, curried cream of broccoli, sweet potato with bacon. Apparently it was a fall of sweet potatoes. 

2. Celebrate our anniversary. // We had a great first anniversary weekend in Bellingham. It was very much our speed – relaxing and full of our favorite foods. Over the course of the weekend we managed to eat all our favorites: sushi, steak, oysters, Mexican, and Indian. Since then, we’ve been making an effort to keep Sunday mornings free; free of plans and free of technology. We’ve gone out to brunch, taken the dog on long walks, worked on projects around the house, to name a few. It doesn’t happen every week but it’s great when we make it happen.first_anniversaryI love the TimerCam app for getting pictures of us together.

3. Enjoy trick-or-treaters. // We had a very low key Halloween trying to cram in work in order to leave our computers behind the next day as we traveled to Maui. We had several trick-or-treaters come by the house over the course of about two hours. I’m not sure we made progress with Alfred’s barking at the doorbell but we at least tried. halloween2013

4. Decorate for fall. // I was off to a good start with decorating, then we decided to do a “No Spend October”. I don’t own fall decorations so to keep with no spending I couldn’t add anything to my collection. The front porch and dining room table were a little festive, but that’s about it. We’ve got a lifetime of autumn’s ahead of us to collect a few perfect pieces.

fall decor

5. Make sauerkraut. // Nope. Just didn’t happen. Someday.

6. Learn to sew. // YES, YES, YES! I’m not good by any means, but I learned how to do it. I completed four projects in my beginner’s class then traded in my old iPhone for a sewing machine at Target. Since then, I’ve complete 3 projects on my quest to do 35 by the time I turn 35: cloth napkins, party banner, winter table runner.

7. Make the Pioneer Woman’s cinnamon rolls. // Nope. Thought about it on Thanksgiving morning, but cutting the recipe in half still yields 3.5 pans of rolls and that just seems ridiculous.

8. Do yoga once a week. // I did yoga a few times on my own at a home and a few times at a studio with a friend. I didn’t get anywhere close to weekly but it was great the times I made it happen.

9. Clean out my closet. // My closet floor is still a bit of a mess and my nightstand drawers are full of unorganized jewelry, but I did make some progress. After we got our new dresser I finally got around to organizing my clothes and three or four months later it’s not a mess. That might be a record for me.

10. Bake a pumpkin pie. // Obviously, food goals were not my thing this season. My plan had been to make a pumpkin pie for Halloween. I wanted to have a few friends over for a game night. That didn’t happen when it became clear we’d both be working late to finish up before going on vacation, and I never got back around to making a pie.

a winter table runner

IMG_7247_edited-1

Over the long weekend I finished my winter table runner.

I went with “wintery” colors over more traditional Christmas colors because I couldn’t get a good mix of red and green fabrics that didn’t scream COUNTRY CHRISTMAS across Jo-Ann Fabrics. Gray, burgundy, and gold felt right so I decided to call it a winter runner instead of a holiday one.

IMG_3630_edited-1

I worked on this for about two weeks on and off and didn’t keep track of the time exactly but my guess is I put in between 4 and 5 hours. IMG_3632_edited-1

I cut the strips and organized the fabric order at 4am one morning when I couldn’t sleep. One benefit of a traveling husband is no one knows you are a weird lady who irons fabric at 3:45am in the kitchen. Except now the internet knows. IMG_7250_edited-2

I’m not posting any of the specific steps because the tutorial I used is from an eCourse I bought and that doesn’t seem like something I should do. It was very easy to follow, though definitely the hardest project I’ve done to date. IMG_7256_edited-1

It is FAR from perfect and I found binding (the burgundy fabric around the outside) very hard. There are no close-up pictures for a good reason! But I love it. The first of my homemade holiday decorations. Now I am on the hunt for candle holders or something else to add to the table. Upcycled, of course.

Project: 3/35
Time: 4 – 5 hours
Tutorial: available in the Get Quilty eCourse
Cost: $32.09 ($25.69 – fabric, quilted backing, thread; $6.40 – 1/5 the cost of the eCourse)

flag banner

For my second sewing project I made a flag banner for Becky’s wedding shower. It was the first time I’ve gone to Jo-Anne’s to pick coordinating fabrics. Since Christmas is coming up and Becky’s shower already had a red + kraft theme going, I selected fabrics that would work for the shower and be a fun Christmas decoration for her after.

IMG_3621_edited-1

The tutorial I found was very easy to follow. I skipped washing the fabric since it’s likely a banner won’t need to be washed down the road. One mistake I made was to cut them rights sides together (thinking I would avoid any marks on the right side), but when I flipped to sew them together they didn’t match up perfectly.

IMG_7193_edited-1

My flags are far from perfect, but they look decent. I found sewing the flags to the bias tape the hardest part. Actually, the sewing was not hard, but getting the flags into the bias tape to pin them was way harder than it should have been.

IMG_3627_edited-1Untitled-1

Time: 90 minutes
Tutorial: Pennant Banner
Cost: $7.55 (fabric, thread, bias tape)

saturday night napkins

For the last year or two I really wanted to jump on the ‘x goals before x age’ bandwagon. 35 seemed to be my magic number as its the next major birthday I get to celebrate (let’s not even talk about how that’s possible). After making several lists with very lofty goals, I decided I didn’t want to create a list that had the potential to leave me disappointed in myself on my 35th birthday.

Then I got super into sewing (meaning I took a four week class and declared it my new most favorite hobby that I would never get bored with). The 35 idea came back and seemed more manageable. I could do 35 sewing projects in 2.5 years. And if I can’t, then I can’t. It’s just sewing. If I’m not longer into it at that time, I probably won’t even remember I had this 35 projects idea.

Thanks to a crazy deal at Target, I brought home a sewing machine over the weekend. I ended up going with a much more basic machine than I had originally planned. It has my must-haves, was in-stock at Target, and is significantly smaller than the machine I had previously thought about. Saving $40 was a bonus, too. More money for fabric!

I had fabric left over from my sewing class and decided to make cloth napkins on Saturday night. It is wild in the Martin house these days.

IMG_7156_edited-1

For some fabrics I only had enough left to make one napkin. The four of these together would be fun for a spring brunch. Plus, it’s usually me eating alone or just Greg and me. Cloth napkins are already a step up from us grabbing a paper towel, so I’m not too worried that they don’t all match.

IMG_7155_edited-1

This free tutorial was super easy to follow and clearly explained each step. I quickly found that there is way more ironing than sewing when making cloth napkins. IMG_7157_edited-1

These are my favorite napkins and I wish I had more fabric to make a full set. They scream summer and will look perfect with our outdoor dishes. I might need to buy more.IMG_7158_edited-1By the end some of my corners looked really good. IMG_7159_edited-1

And some look like this.

I’m going to consider the cost of this project to be $0. I had the fabric and thread on hand from projects for class, so I bought nothing new. In terms of time, I started around five pm and finished around eight. In between I also ate dinner, changed laundry, watched an episode of HIMYM with Greg, and did some house cleaning. If I had to guess I would say it took me about two hours to make the napkins, but they went significantly faster as I got the measuring and ironing down.